General Information Quilting

Open Studio Paper Piecing

open studio 2014 PP Cards

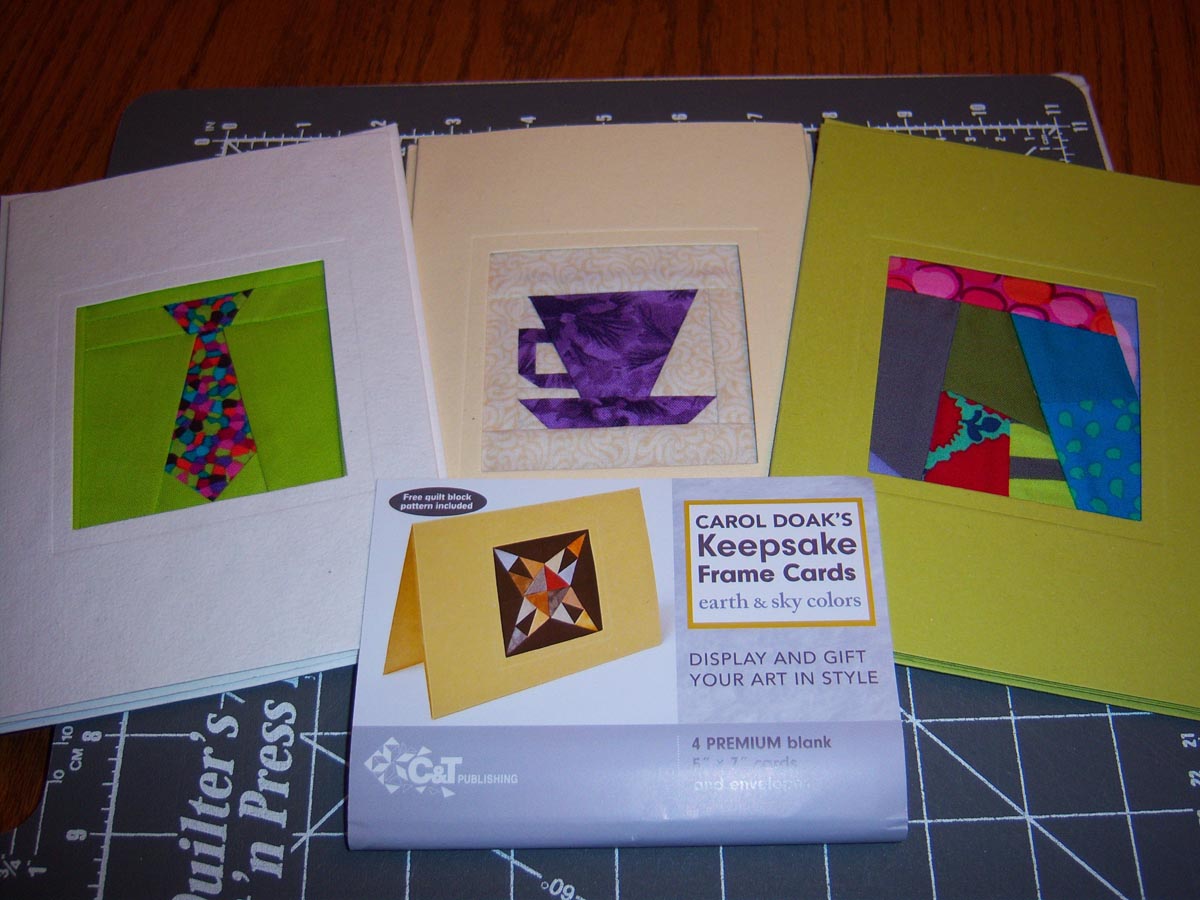
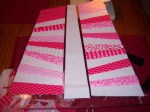
Paper Piecing!  Does that mention get you excited or did you just cringe?

If you want to try your hand at it or not sure what to do with an orphan block, here is a great option. You get a free pattern with every set of cards and envelopes and it is less than a purchase of store bought cards. Make a card, send a card and have the recipient be astonished that you made it and you share a part of your creativity, too.  Wonderful scrap buster and I known…..we have scraps.

Education

Open Studio Binding International Quilt Festival

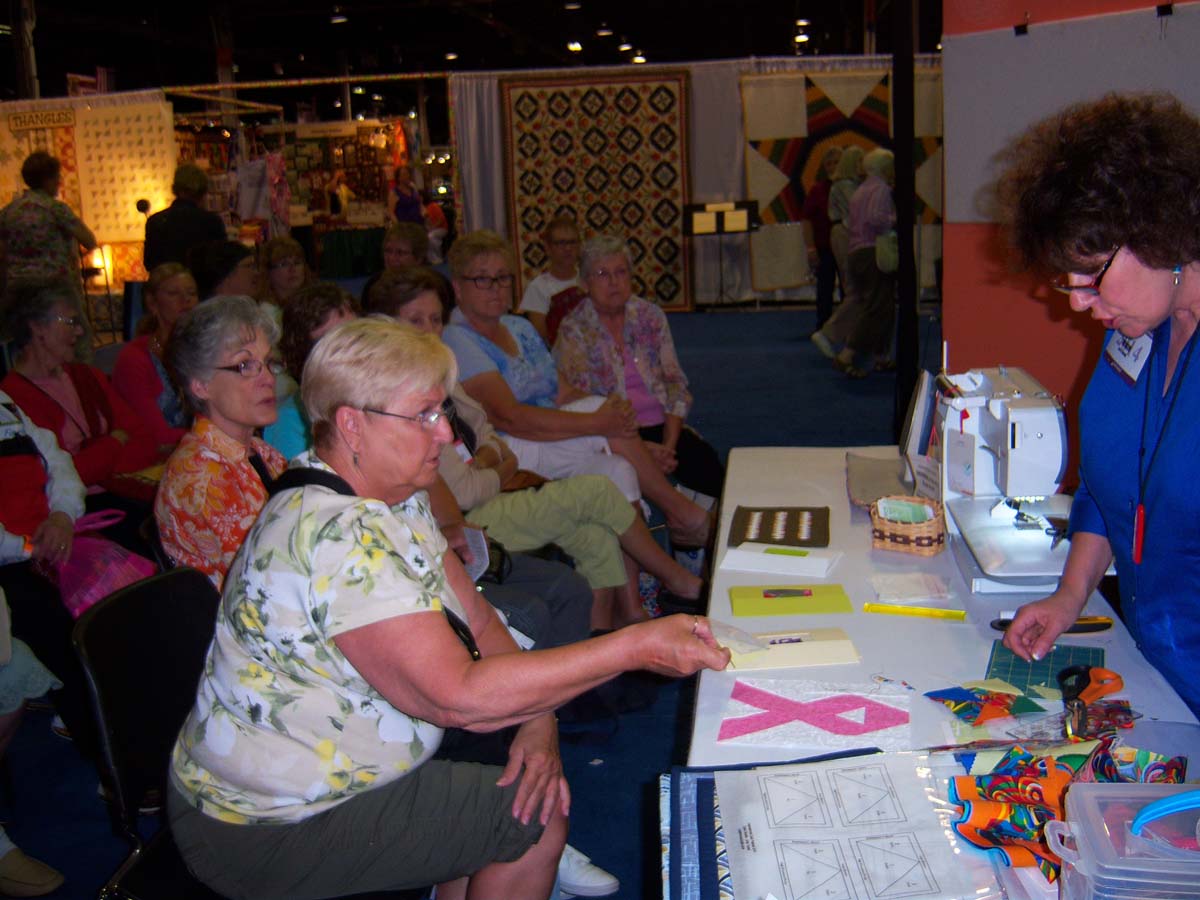
I was very fortunate to be able to demo and show some people for the first time how to achieve a new look on bindings.

I chose 2 ideas which I often use myself on my own quilts to add interest or maybe because I ran short on fabric but really want to use it in the binding.

So first – Faux Flange Binding.

100_2187

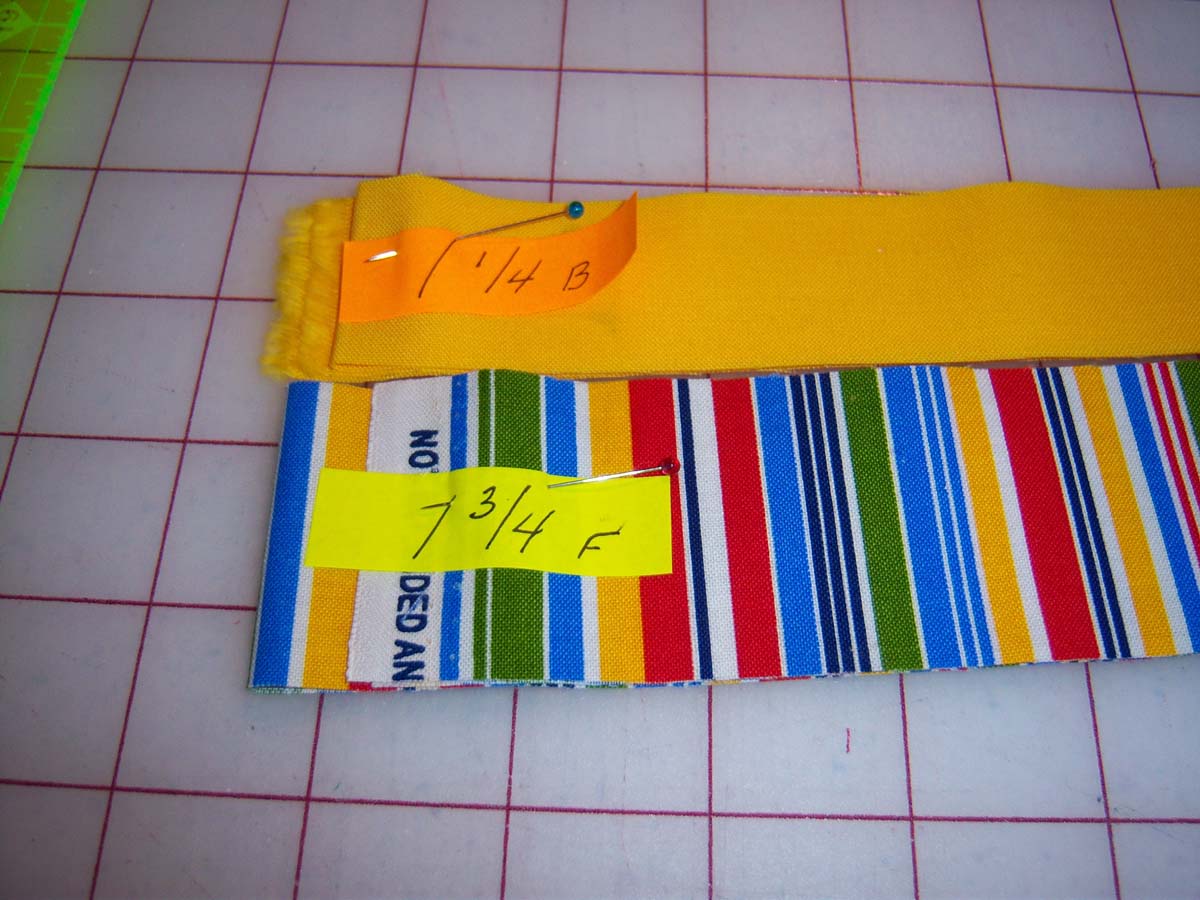
Using a 2 ½ inch binding, Flange  cut 1 ¾ in. Outer Binding  cut 1 ¼ in.

Now if you choose to have more or less of a Flange you can vary your widths to achieve your look, just remember if you add to one, reduce the other so you still have a complete 2 ½ in binding when sewn.

100_2158

If you need to join multiple strips to get your length to complete your project, join each, flange strip and then outer binding strip to make two complete units.

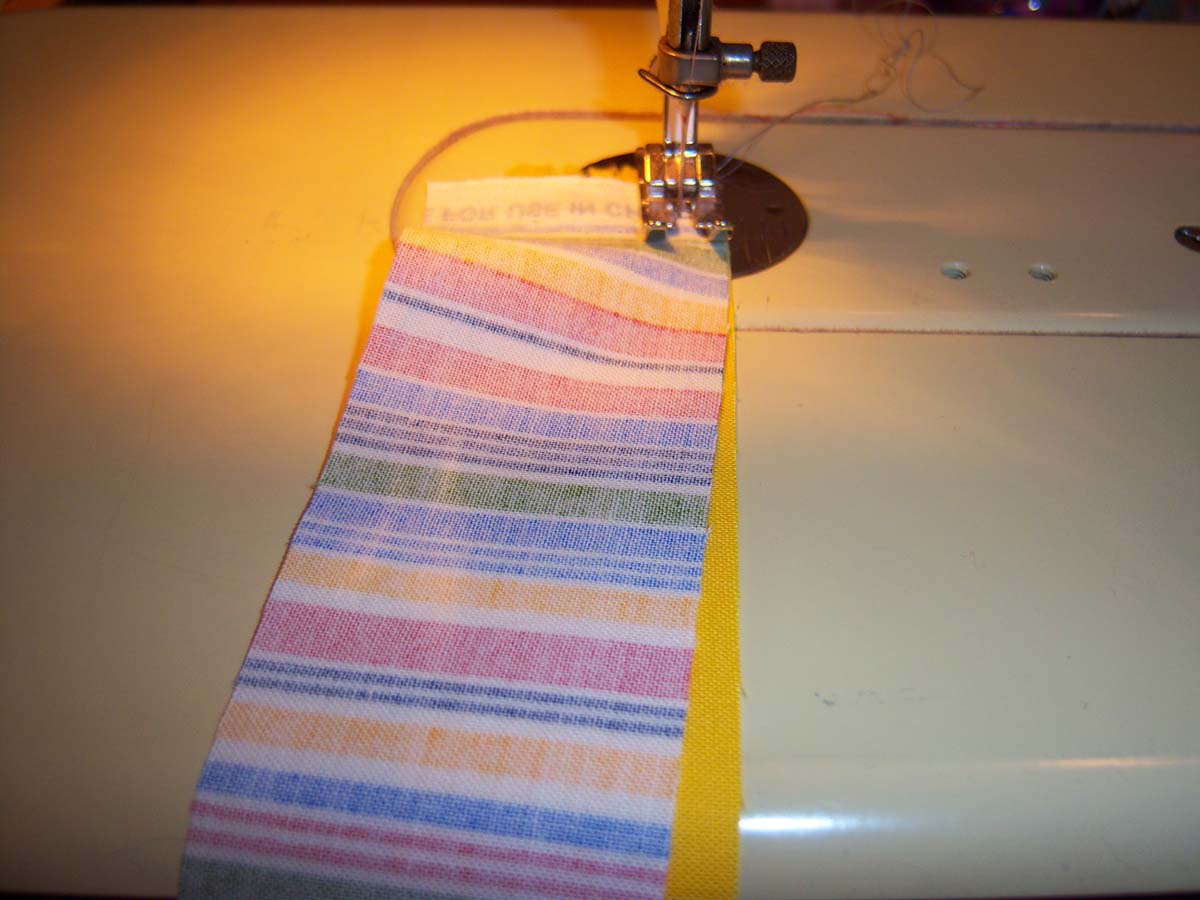
When you have the length you need, join the two strips together with a ¼ in seam to form your 2 ½ in width.

Press to set your seams.

100_2168

Press seams going to the wider strip.

100_2161

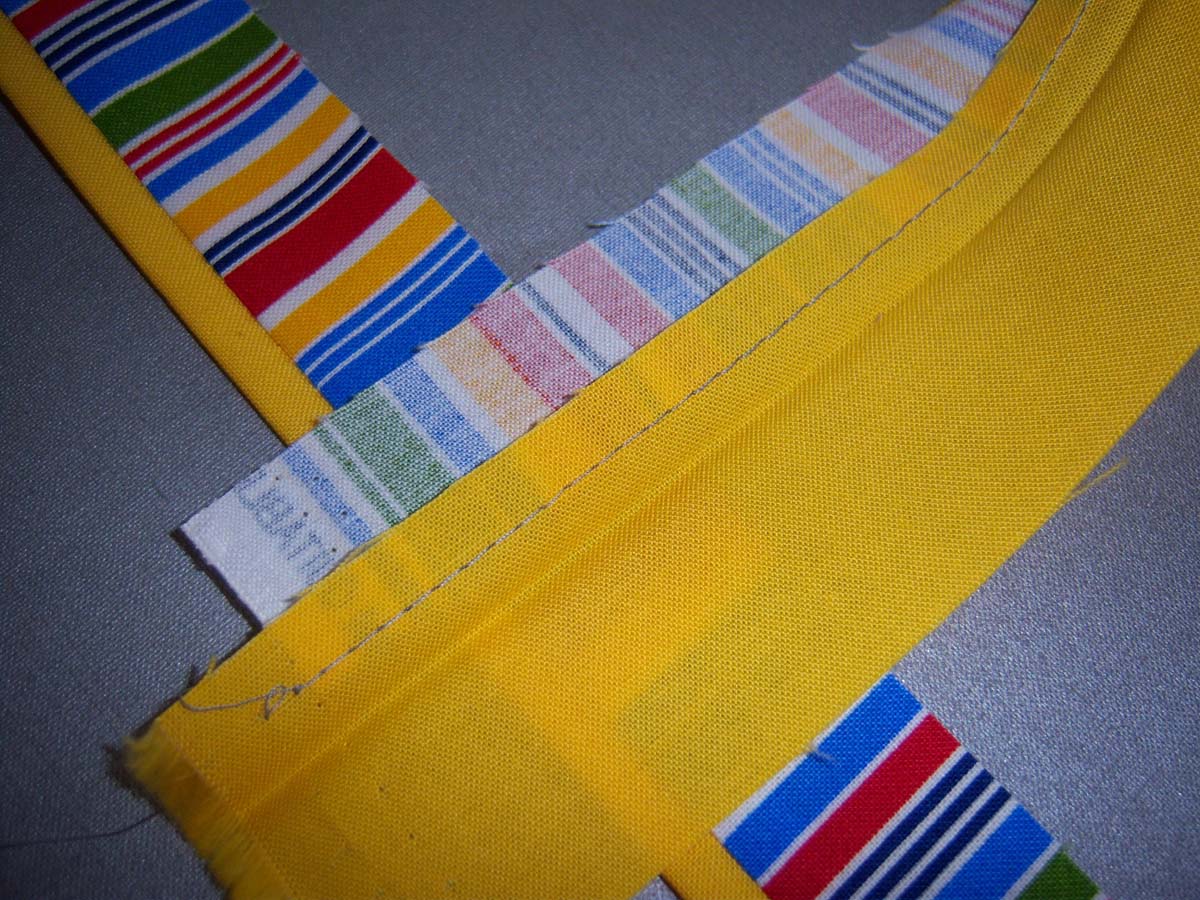
Press in half making sure there is a nice crisp line between the two joined fabrics.

100_2164

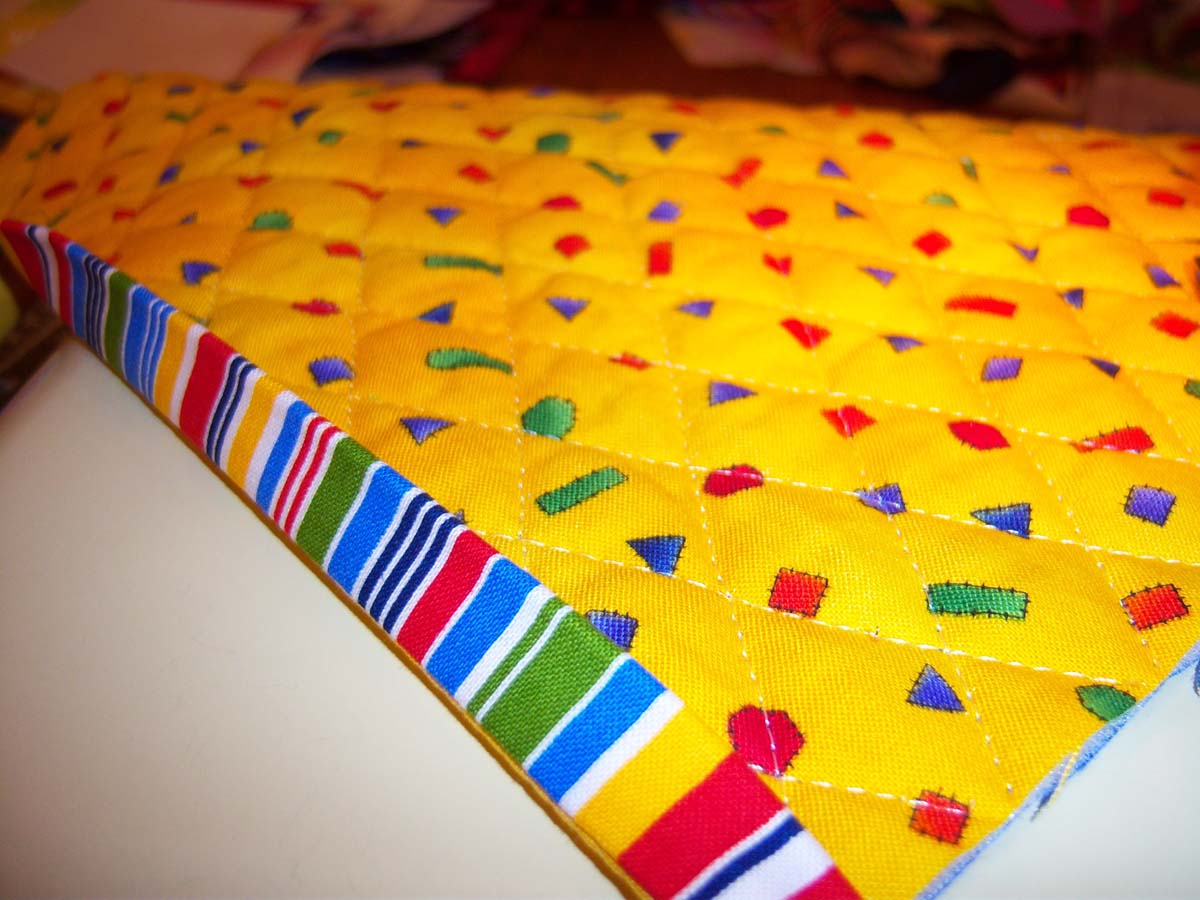
Lay your strip down on the back of your quilt.  I like to use a basting stitch when I first start my binding and test to see where it will come over to on the front. I want enough over hang so when I ( SID) Stitch in the Ditch on the front it will hide in the backing not the binding. Test it; you will save yourself time and often a head ache.  I continue to sew in the same manner I do with regular bindings and also end them the same manner. Use your method of choice.

100_2165


Second technique –  2 Color or 2 Sided Binding.

100_2189

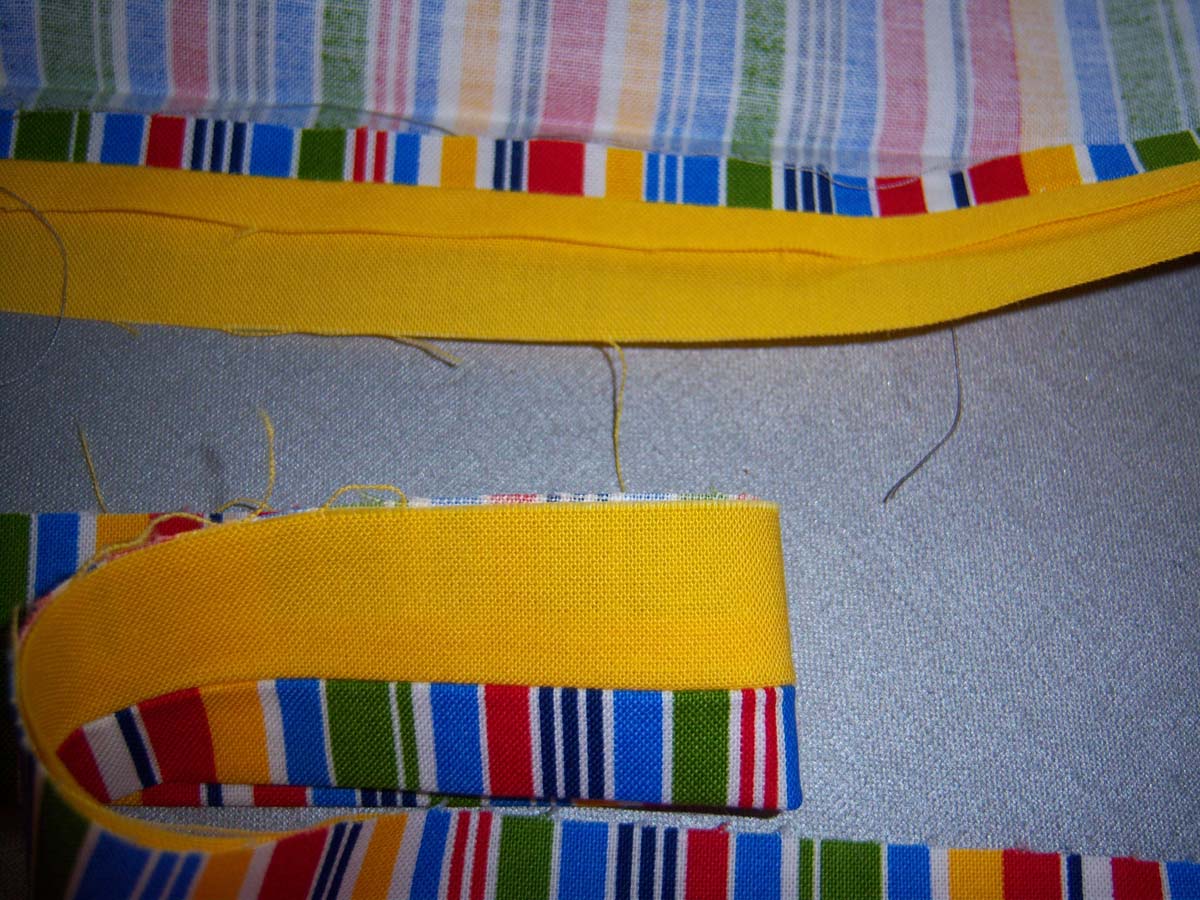
This makes a 2 ½ inch binding . Cut one strip 2 inches and the opposite strip  1 inch.

Join all your 2″ strips to give you enough length. Join all 1″ strips to give you enough length. * Do this in your method of choice. When you have the desired length for your project join the two strips together with a ¼ in seam.

100_2158

Press to set seam and then press this seam open being careful not to distort your fabric if it a long strip.

100_2170

Press in half.

100_2169

You will lay the narrow 1 ” strip against the quilt on whichever side you have chosen that fabric for.

100_2171

I do a test baste stitch to make sure the seam on the binding lays right on the edge of my quilt when I wrap it around.

100_2174

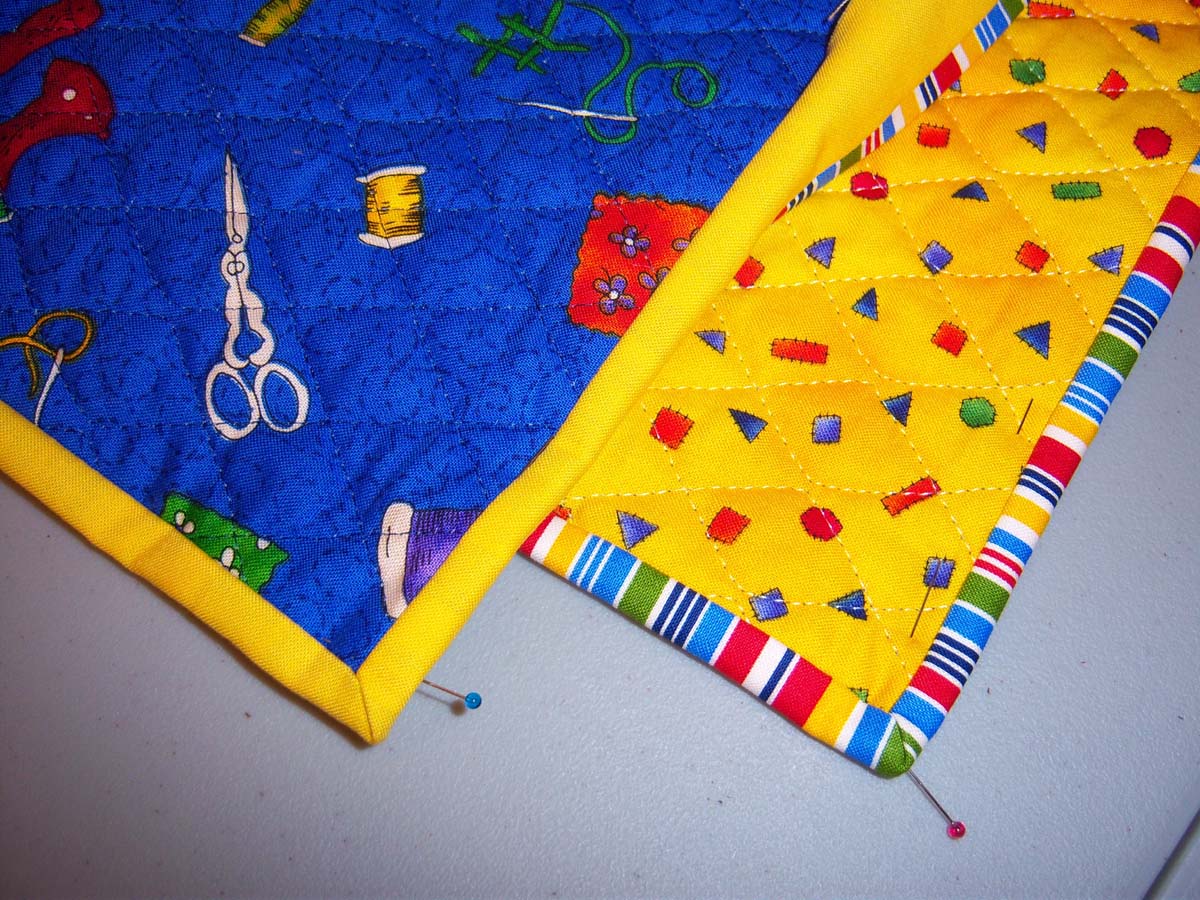
Continue to attach when you are happy with your seam and finish in your desired method.

100_2166

Hope you gives these a try. If you have any questions shoot me an email.



General Information Quilting

International Quilt Festival Challenge

The International Quilt Festival called for a challenge.

Always love a good challenge!  This one was between the Chicago Modern Quilt Guild and the Naperville Modern Quilt Guild.

We were given the theme “Modern in the City” and restriction of one side, any side must be 36 inches.

First thing that came to me was the Picasso sculpture in downtown Chicago.  Okay so how do I translate hard cold steel into fiber and make it exciting……

Here we go.

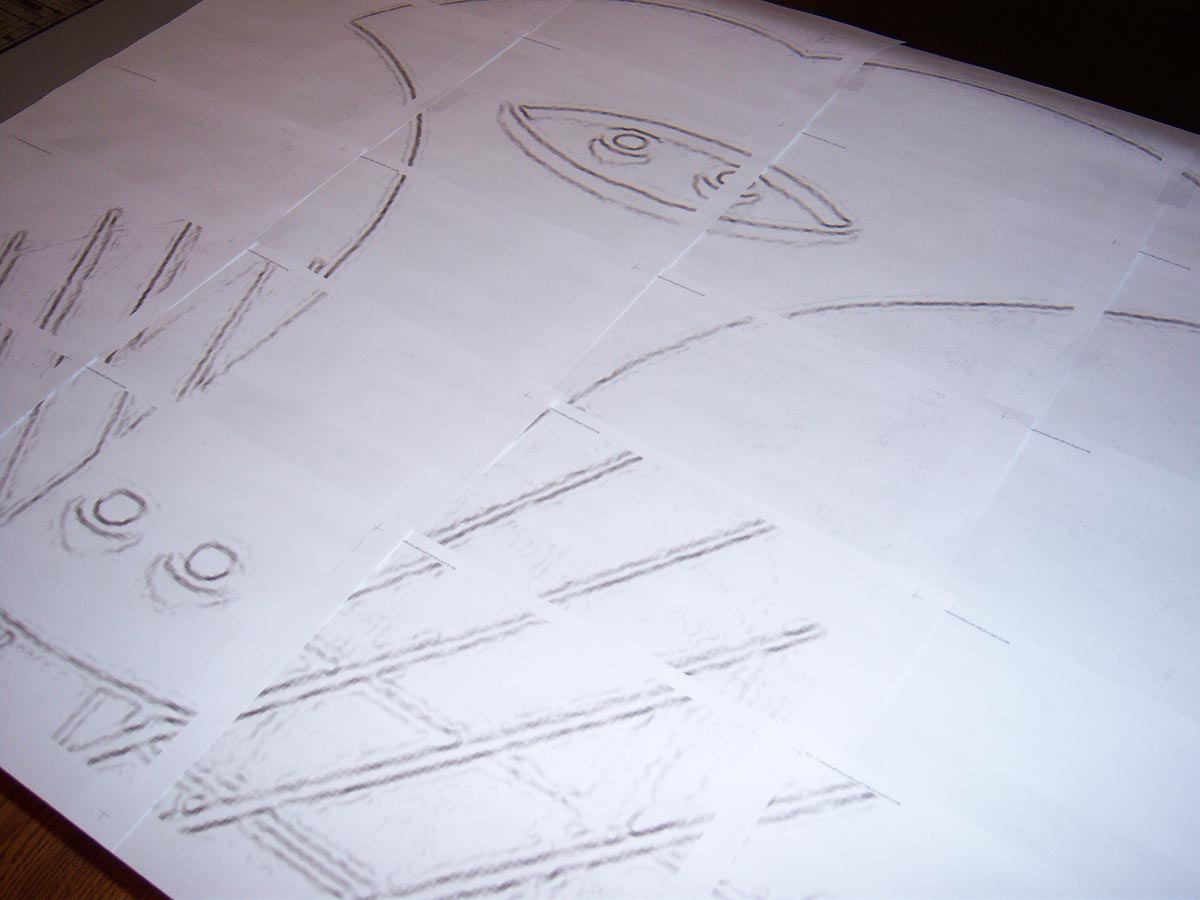
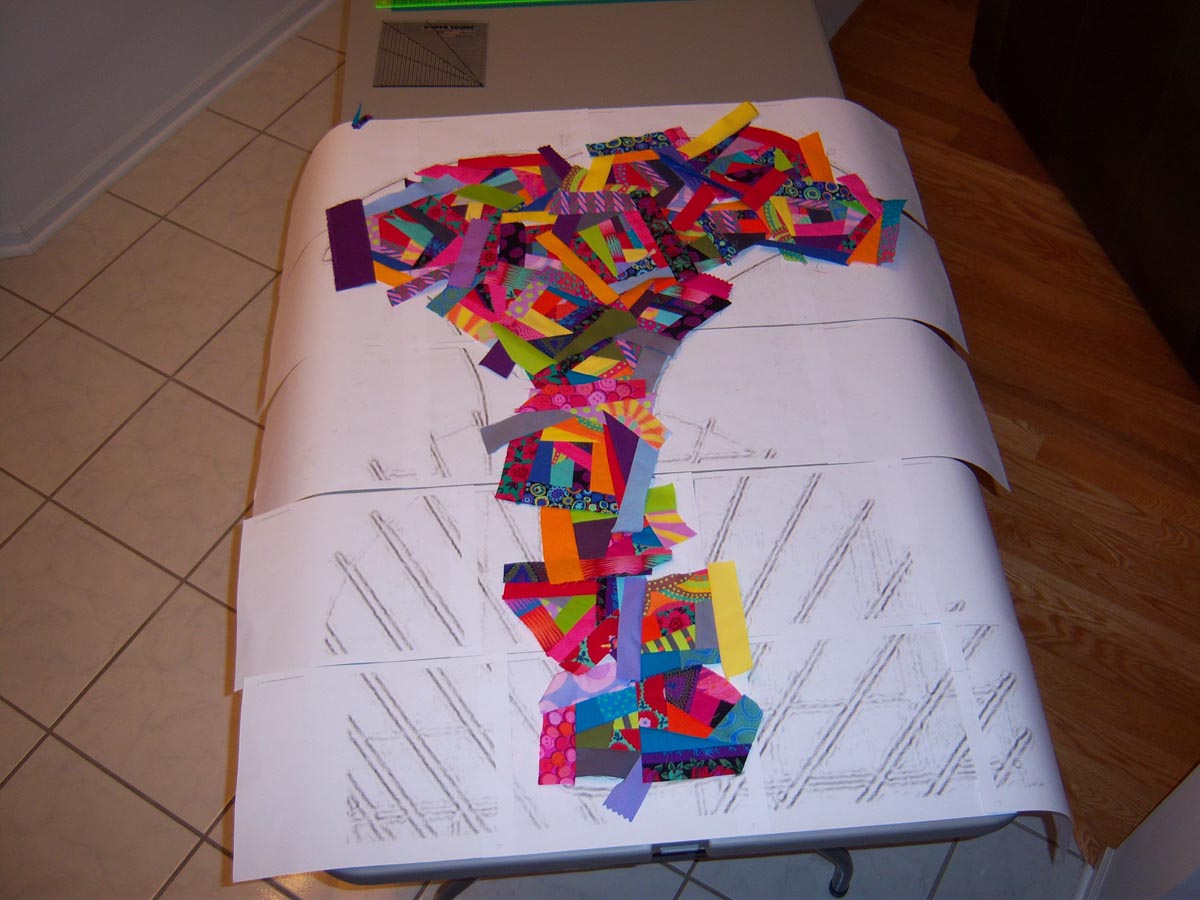
Started with a paper pattern that was enlarged.

picasso1

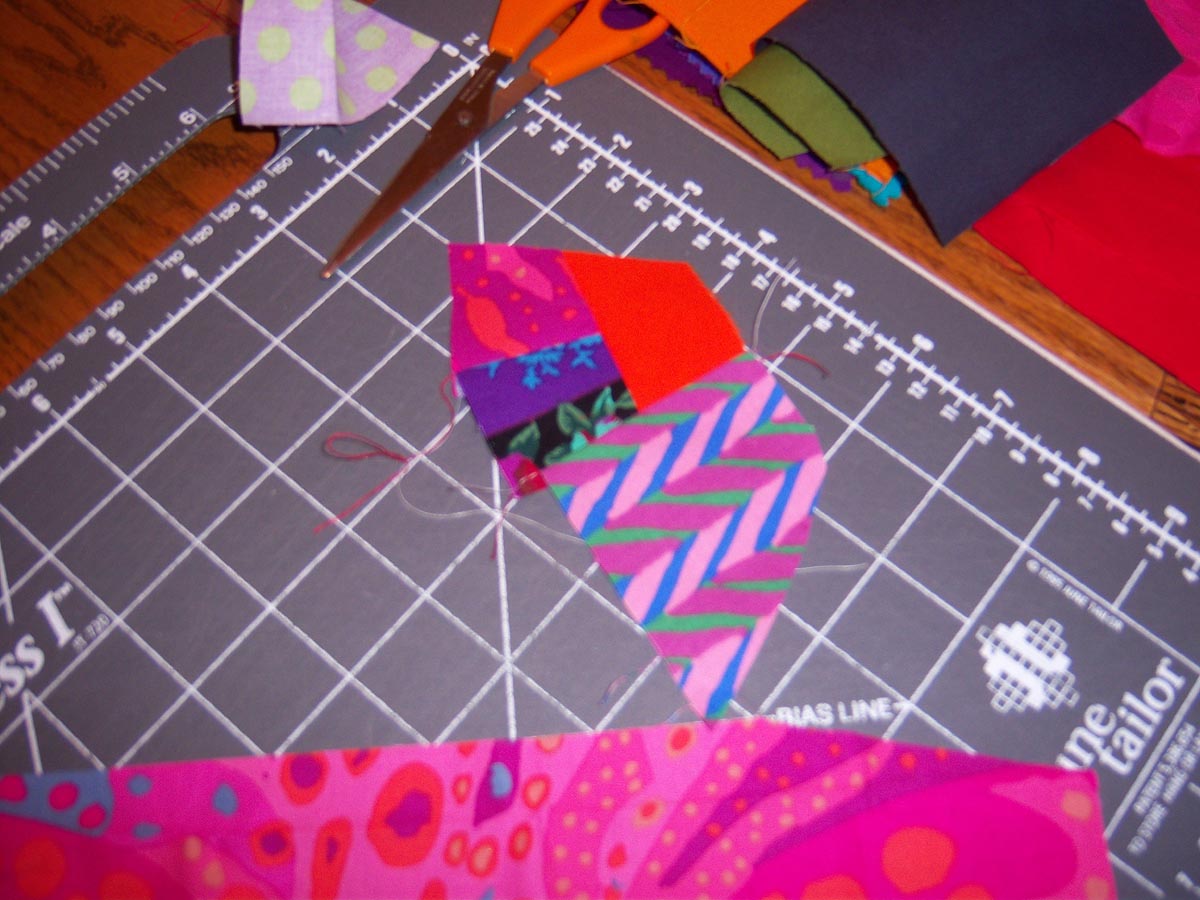
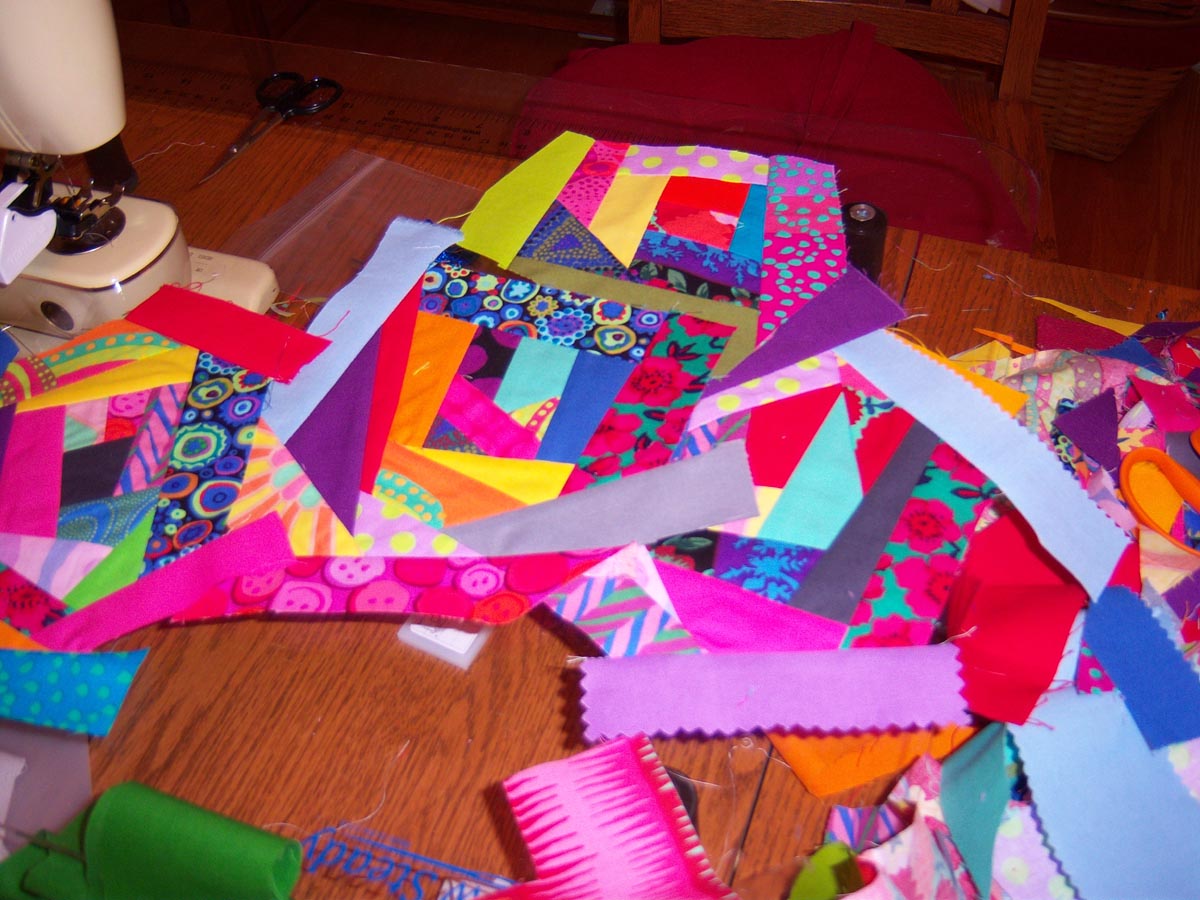
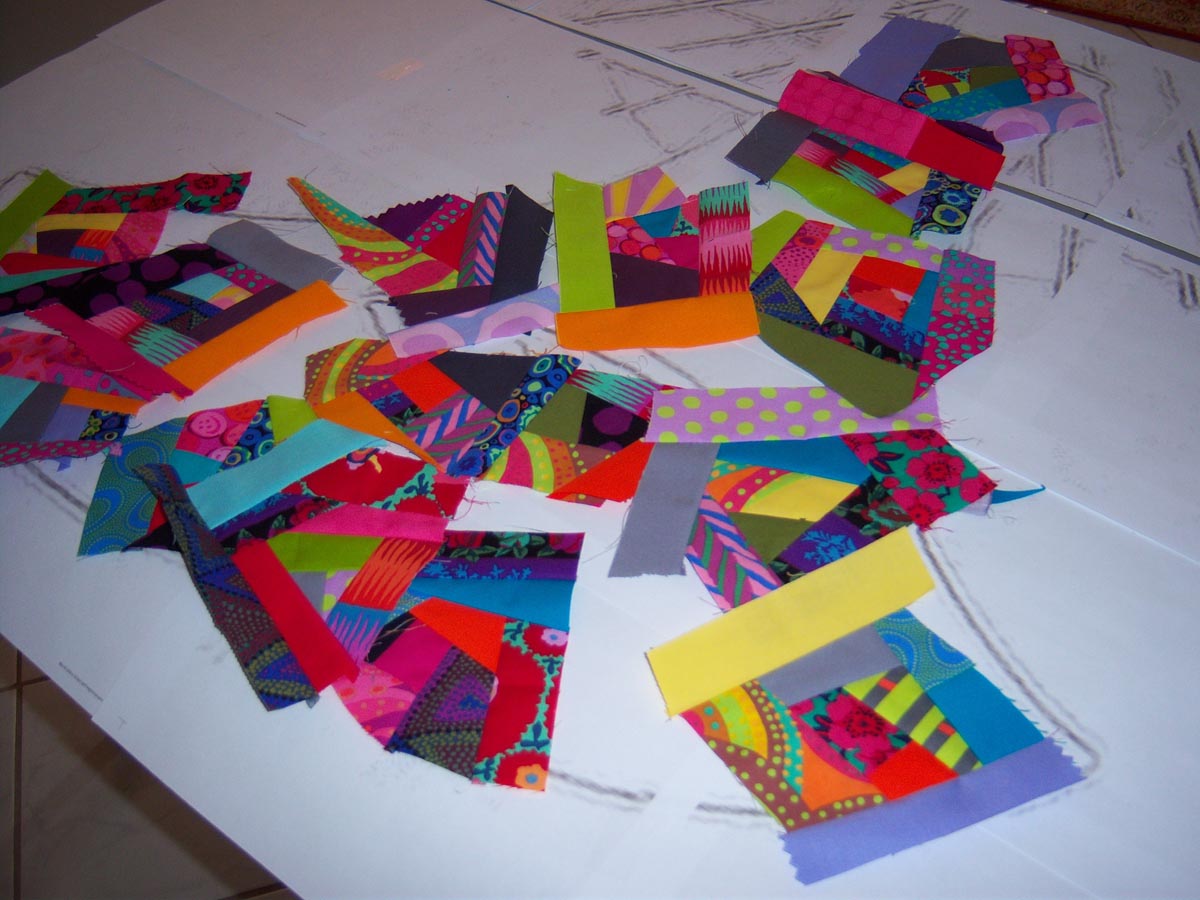
I did not want to use just one solid or print type fabric for the face.  I used the 15 Minutes of Play by Victoria Findlay Wolfe. The first day it was a bit rough letting go and just random piece, sew and cut.  The second day, was easier and became free and fun…. getting the hang of this.

picasso2

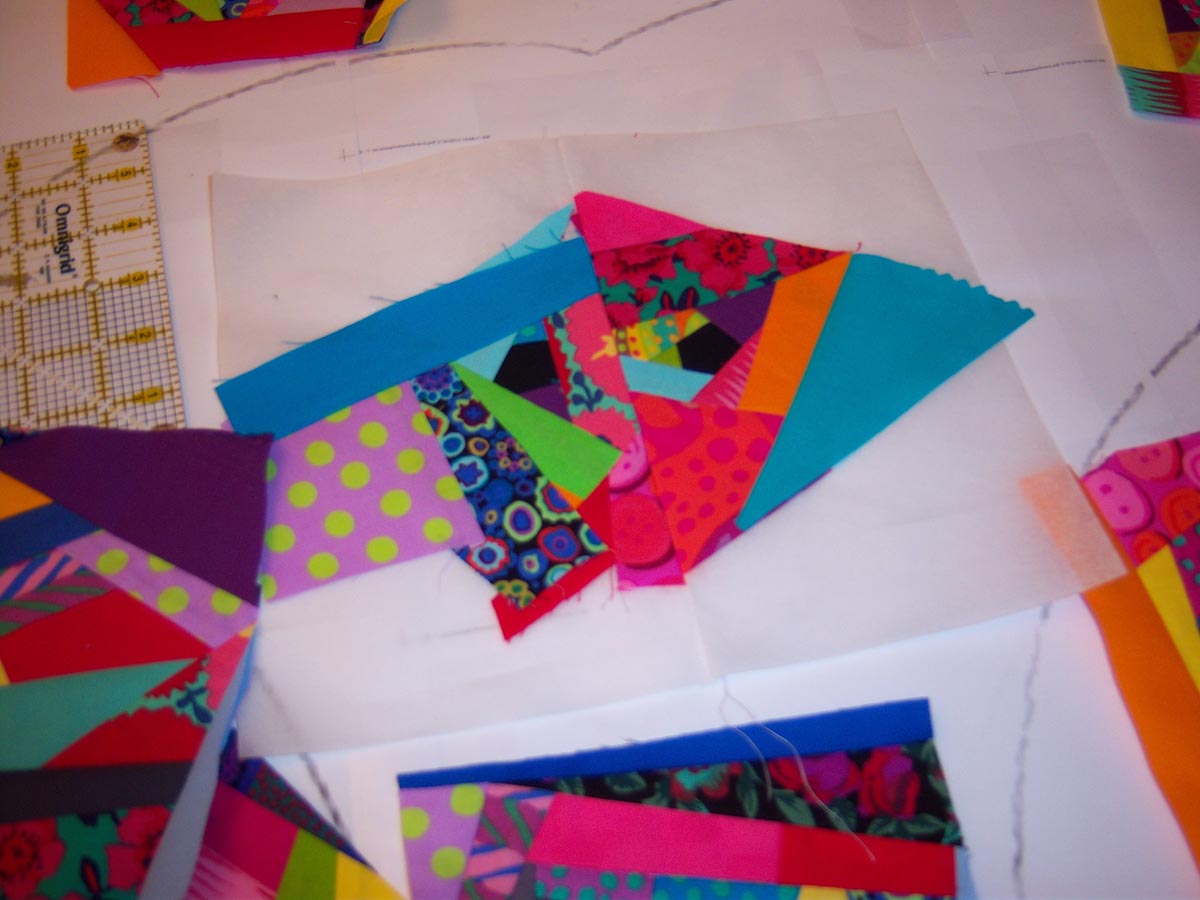
The eyes had to be a bit more centered so they were done with a paper piecing method.

picasso3

Getting several units to size and laying them out to get a sneak peek for myself.

picasso4

picasso5

Needed to lay the blocks out and mix colors and make sure coverage is good.  Hmmm, a bit more here or there and then time to join.

picasso7

picasso6

I decided I did not want raw edges on the face and tried to think of the best way to turn the edges under; especially with all the seams everywhere. I used to use dress-makers tracing and traced the face and then put it over my sewn units.

picasso8

Pinned and sewn.

picasso9

After stitching all the way around, I cut through the middle leaving 1/4 all around the edges to turn.  Just like in garment making, it is necessary to clip on curves to have everything lay flat.

picasso11

Had to audition the right colors for the background.  Some were dull and some too bright.  I really liked the way the Kona Tulip (purple) and Kona Peapod (green) played together as well as with the face pattern. I then hand appliquéd the face to the background.

picasso12

To continue with the sculpture and the rods that hold it up, bias tape was my answer.

picasso13

Put it on the long arm machine to do the background quilting that is similar to the piecing of the face.  Some of the quilting was also done on my domestic machine.

picasso14

I had been playing around with a product by Lesley Riley and C & T Publishing called TAP paper.  Using words an image in reverse on the computer, you print right onto the paper.  Iron on fabric and it is permanent.  I like this method because I always mess up or get nervous writing with fabric pens. You can even add as I did on top.  I had forgotten to include my phone number on the label so I just ran the paper through the printer again and ironed on top of the original TAP transfer.

picasso16

On the design wall and bound. Really wanted to use solid binding to give the sculpture a bit of suspension. May I present to you, Picasso in Piecing.

picasso15


Education

Hello New Friend

Well, as the saga continues it took me on turns and tumbles I did not see coming.

I know what colors and styles I like and which I am not so fond of.   So I thought.

As the colors played well together and I was open to playing and picking up random pieces to make the happy family, I noticed I liked the way they gave me a sense of contentment. Maybe because I did not stress over matchy matchy ideas or how was I going to live with this piece being slightly off, because it was leaving my hands. It was going to a home where no one would notice these usually tidbits that drive me batty at times.

This little project has taught me much about myself that I did not know. Opened my mind and expanded my palette.

I had been thinking and even discussed recently how my color choices have changed through the years and often with season.  Do you look at quilts and colors and think Spring?  Winter ?  Or whatever the season ?

Do you ever say,” I appreciate the work but just not my colors?”  I know I have.  May not do that now, knowing how this journey turned out.

Maybe I just pre-judged my color choices. Maybe I needed to explore something within myself. Color heals, art heals, maybe it also helps us grow and explore.

Give colors a chance that you may not have tried before. Entertain them or let them entertain you.  See where it takes you.

When you are done you can at least know you have explored, played and used your own hands to create a work love.  Or maybe not love …….okay!

Oh and the ending of this story…….it is staying in my home. We have become close friends and I am proud of taking something I turned my nose up at, and now I am proud and admire.  The colors make me feel warm and cozy.

I need my new friend, and will cherish how we met.

General Information Quilting

Psychedelic, Baby

Can your relate?  Here is a quilt kit  purchased in 2006, from CozyQuilt.com. I went to retreat in August 2013 and this kit came along with the intentions to complete for a Christmas gift.

Well……… we all know that didn’t happen.

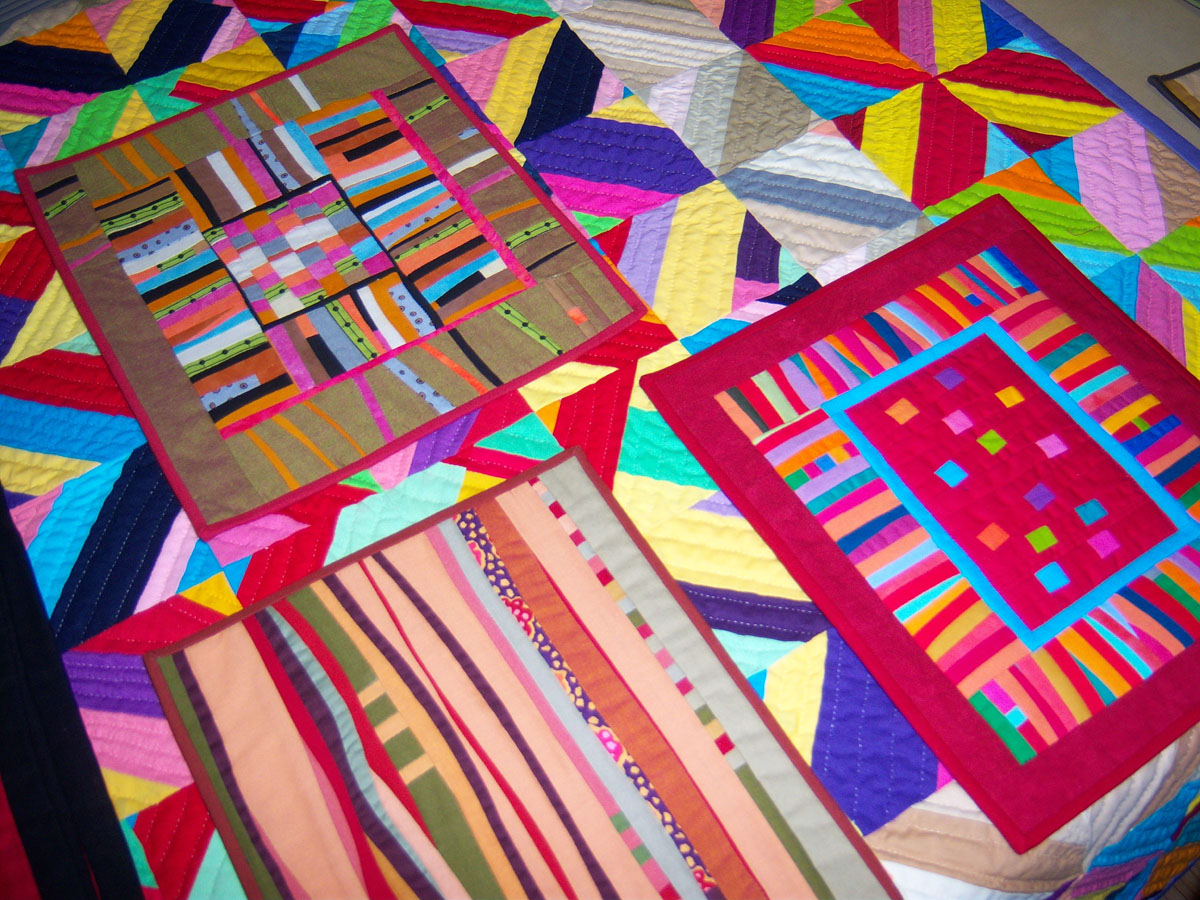
As I was cutting, piecing and having a great time, people where surprised I was working with the earth tone colors and knew that these were just not what I usually pick for myself.  Not really having a relationship with the colors but was enjoying the process and watching it unfold. As I continued on I just knew my friend would appreciate it.

Almost done, lets see where this goes next!


Psychedelic, Baby

General Information Quilting · Modern Quilting

Valentine Auction Items For NWAL

Spent the last couple weekends (and weekdays) designing, sewing, quilting and binding for the NWAL Shetland Sheepdog Rescue. It helps all the Shelties at NWAL Herding Dog Rescue, Inc., especially the seniors and the pups with illnesses that need extra love and care. Please have fun bidding.

General Information Quilting · Modern Quilting

Valentines Day Too

Here are some pictures of time spent in the studio. Decided to finish off the remaining Surrounded by Love by Deb Strain Moda.

Surrounded by Love by Deb Strain Moda Valentine Day too

Surrounded by Love by Deb Strain Moda Valentine Day too. Decided to design on the fly with the remaining fabric.

100_1675x
Surrounded by Love by Deb Strain Moda Valentine Day too.

100_1676x
Surrounded by Love by Deb Strain Moda Valentine Day too. That one red square sure catches your eye.

100_1677x
Surrounded by Love by Deb Strain Moda Valentine Day too

100_1679x
Surrounded by Love by Deb Strain Moda Valentine Day too. Getting near the end.

Surrounded by Love by Deb Strain Moda Valentine Day too. What can I do with these remaining pairs and scraps.

Surrounded by Love by Deb Strain Moda Valentine Day too. Time to assemble and find direction.

Surrounded by Love by Deb Strain Moda Valentine Day too. Flipped these every which way and still not sure.

Surrounded by Love by Deb Strain Moda Valentine Day too. Design is finding focus finally.

100_1689x
Surrounded by Love by Deb Strain Moda Valentine Day too. I really like the organic feel.

Surrounded by Love by Deb Strain Moda Valentine Day too. Finished effort number two.

General Information Quilting · Modern Quilting

Valentines Day

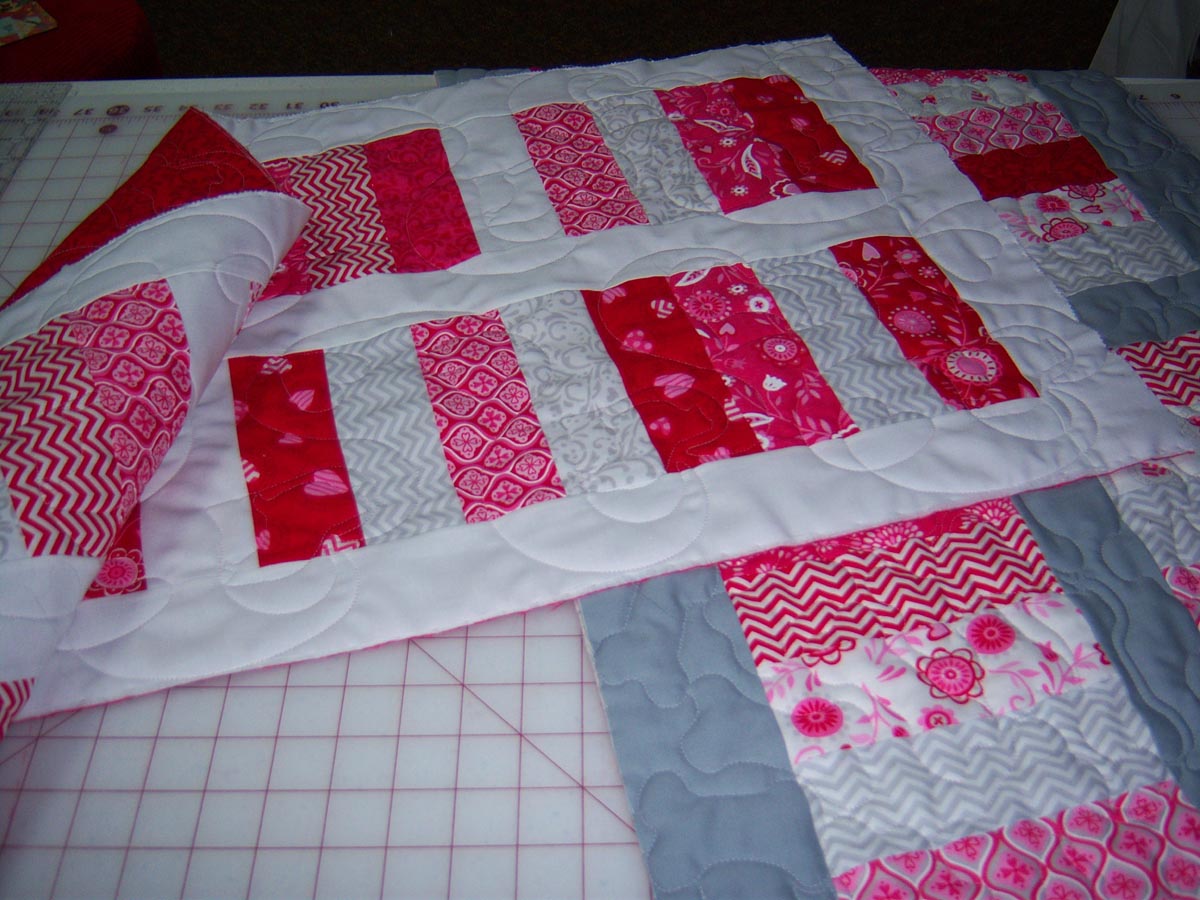
Here are some pictures from our studio using Surrounded by Love by Deb Strain Moda.

Construction of Surrounded by Love by Deb Strain Moda Table Mats

Construction of Surrounded by Love by Deb Strain Moda Table Mats

Construction of Surrounded by Love by Deb Strain Moda Table Mats

Construction of Surrounded by Love by Deb Strain Moda Table Mats

Design wall at studio of Surrounded by Love by Deb Strain Moda Table Mats and Runners

Design wall at studio of Surrounded by Love by Deb Strain Moda Table Mats and Runners

Complete close up of Surrounded by Love by Deb Strain Moda Table Mats and Runners

Surrounded by Love by Deb Strain Moda Table Mats and Runners

Surrounded by Love by Deb Strain Moda Table Mats and Runners

Close up of Surrounded by Love by Deb Strain Moda Table Mats and Runners

Close up of backing of Surrounded by Love by Deb Strain Moda Table Mats.