Education · General Information Quilting

Chicago International Quilt Festival Thursday – Saturday

Its that wonderful time of the year where the quilt show comes to Chicago. If you plan to see the show (March 28-30, 2019) please check out the Open Studio instructors. I will be there each day with something new. Please stop by and say hi.

Festival will have educational opportunities for free on the show floor including our popular Open Studios™ and the new Learning Lounge in lieu of traditional classes and a class catalog.

Donald E. Stephens Convention Center, located at 5555 N. River Road, Rosemont, Illinois 60018.

Show hours are 10 am-5 pm

Admission are $10 adult daily, $8 seniors 65+/students/military and $25 full show pass Children 10 and under free.

Education

No Measuring Borders Tutorial

If you want better borders, so they are not flopping in the wind or somehow out of wack, but really hate math and measuring, this is for you. This is the method I have used since I started quilting and still use today. It works for me, give it try and you won’t be disappointed. Any questions, or unsure of any step, PLEASE contact me. I want you to have fun while making a better quilt!

Make sure your quilt top is nicely pressed.

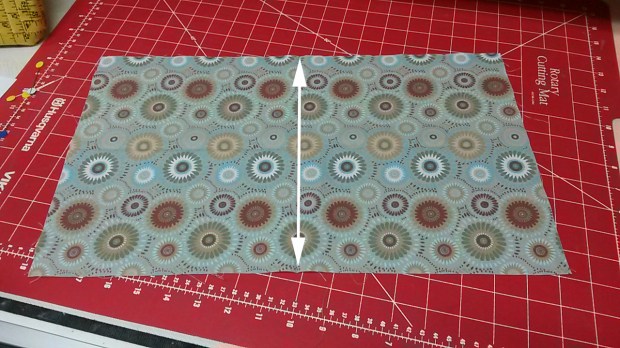
Find center of the quilt top. Do this by folding the ends and marking middles with a pin, iron tap the center, or use a chalk mark.

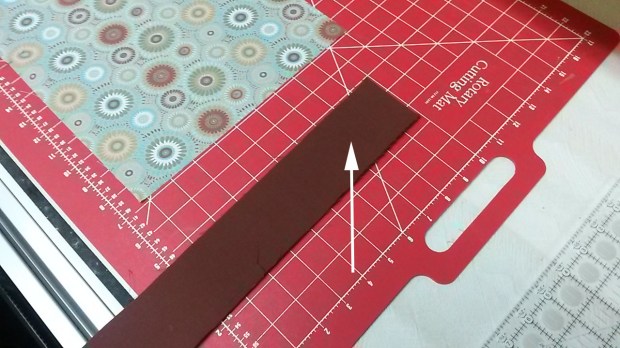
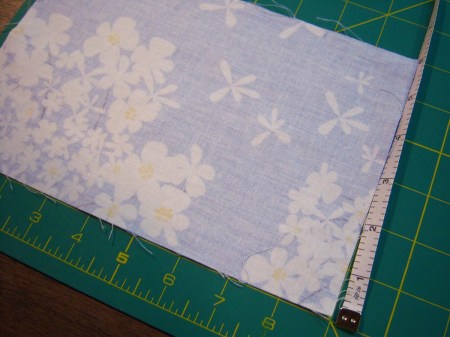
Cut border fabric for the first two sides you will be applying. Make sure you go longer than your quilt top.

Line up border fabric on the top of each other, and find the centers of these pieces in the same manner. Mark them.

Match the center points of the border with the center of the quilt, pin them together well.

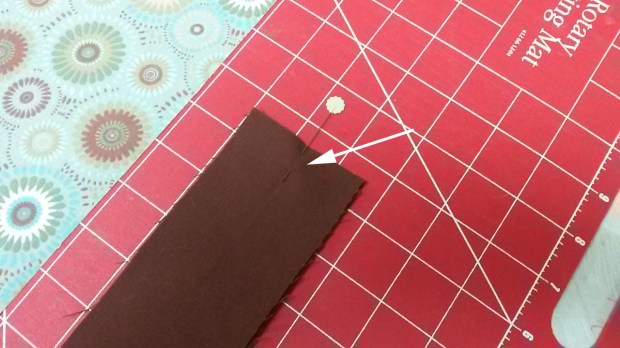
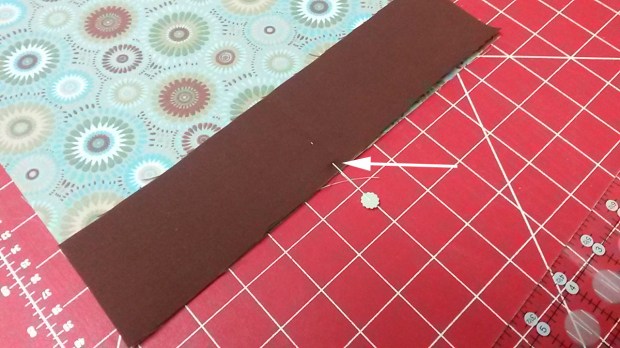
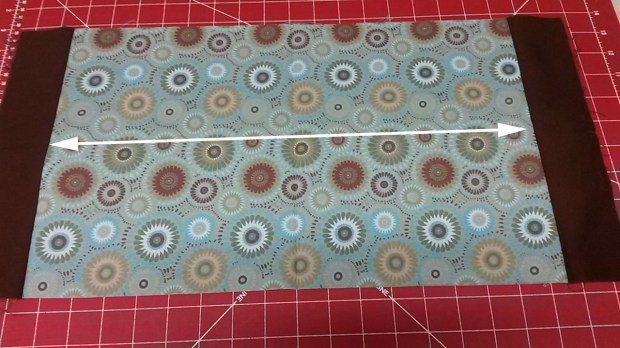
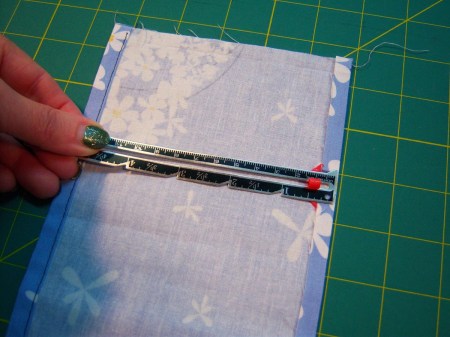
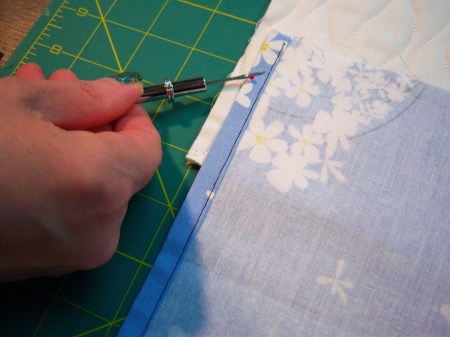
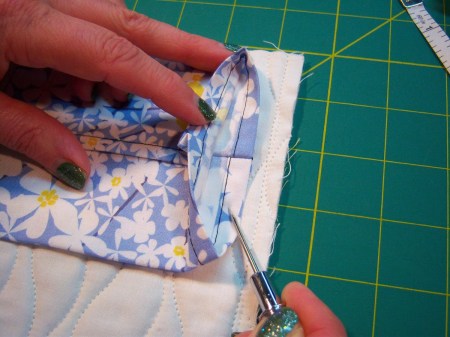
Gently, without pulling, lay the border strips down the middle of the quilt, keeping them all in line. Mark borders with pin, chalk or finger press where the borders meet the end of the quilt.

Trim your borders where marked.

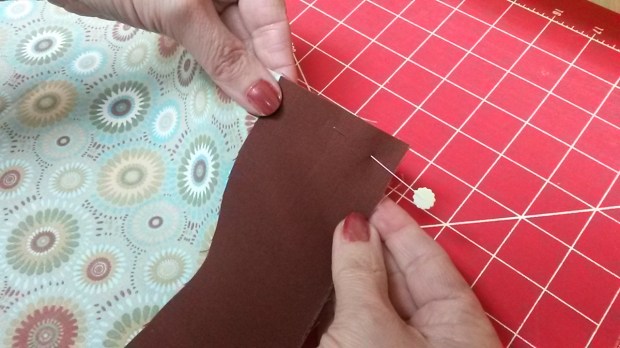
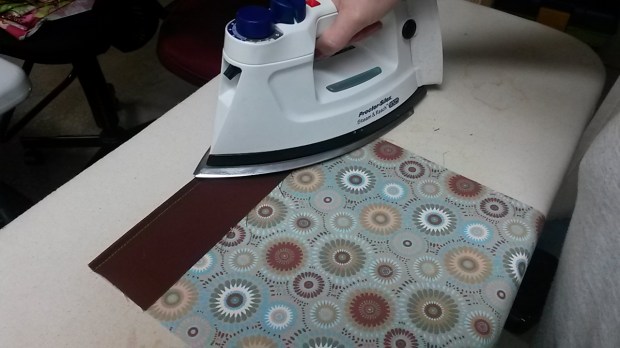
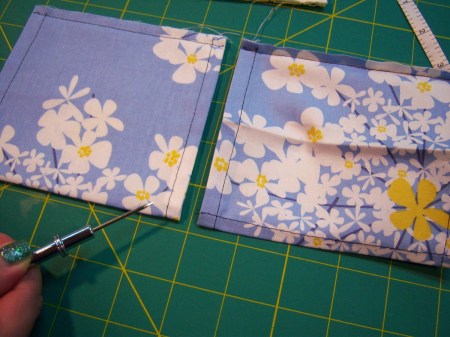
Find the centers of borders by folding in half and iron press center ,this will help with registration marks.

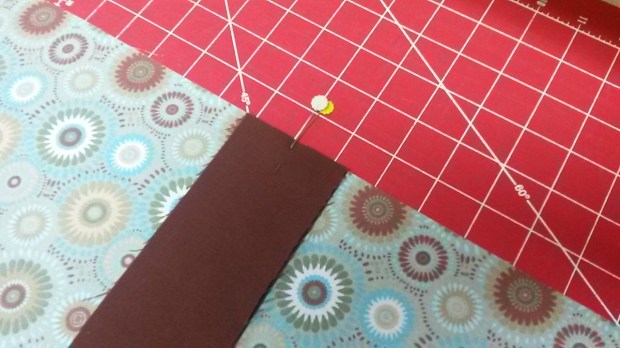
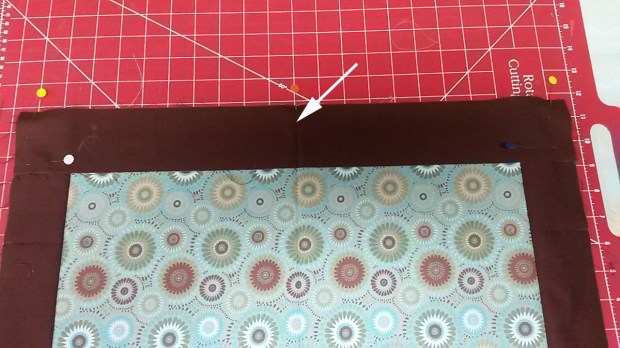
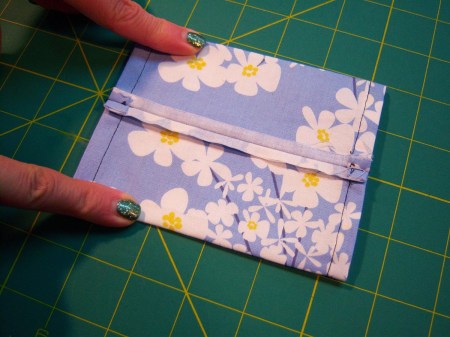
Match centers of borders with center marks on ends of quilt, (PIN) right side together on top of quilt.

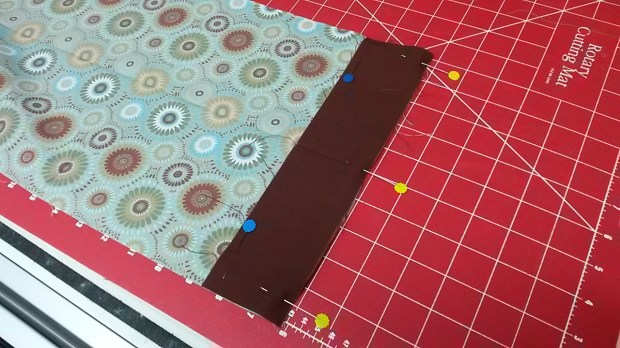
Match ends of borders to end of quilt making sure you have 90 degree angle in corners and pin.

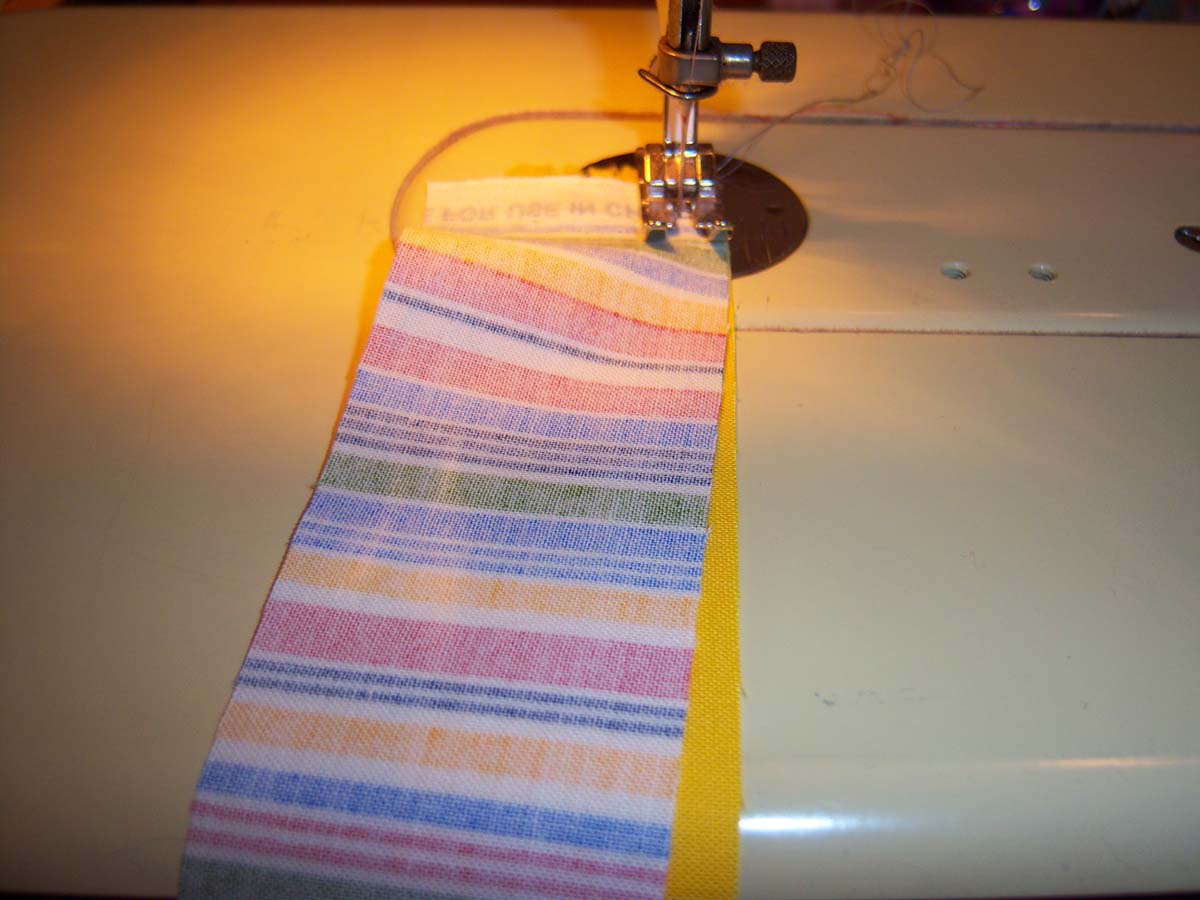
Pin more of the borders on the side making sure they will not shift in sewing. Add more pins to hold border as you sew. Ease in any fabric (if needed) between already pinned points. Now Sew! Do not sew over the pins.

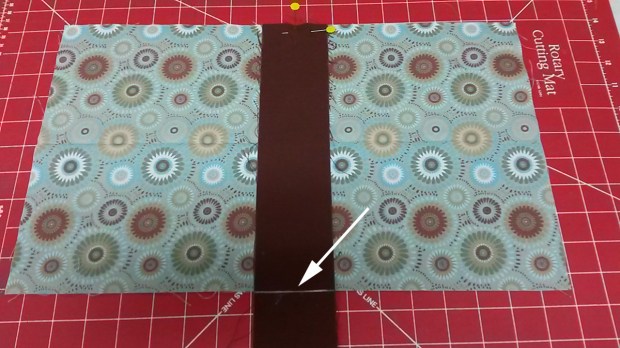
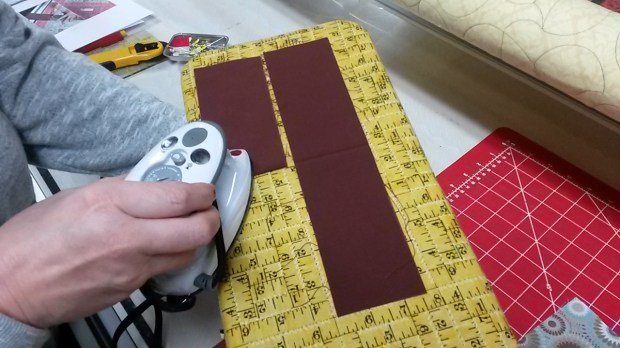
Now that you have your two borders applied, press.

Now find the center again and mark.

Again, find your center on the borders to match to your center on the quilt top. Gently bring across the quilt. Mark the ends where they meet the end of your quilt top and trim.

Find your centers again and pin in the same manner as you did the others. (if quilt is large, fold into quarters for borders and quilt) this will help with registration marks.

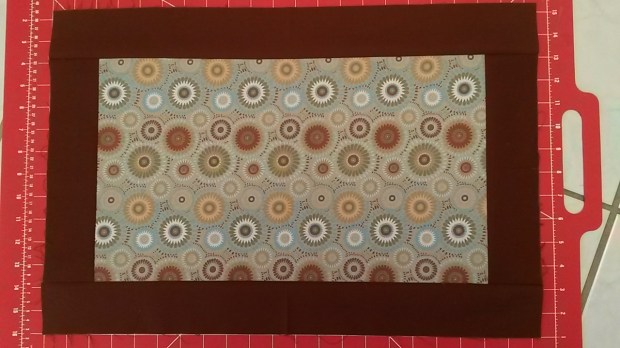
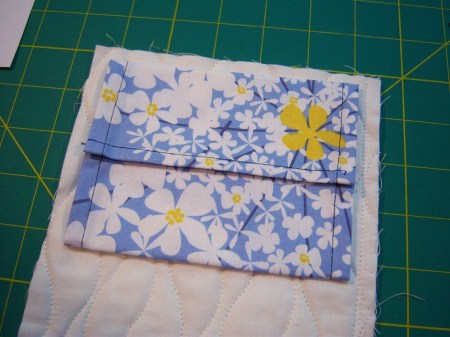
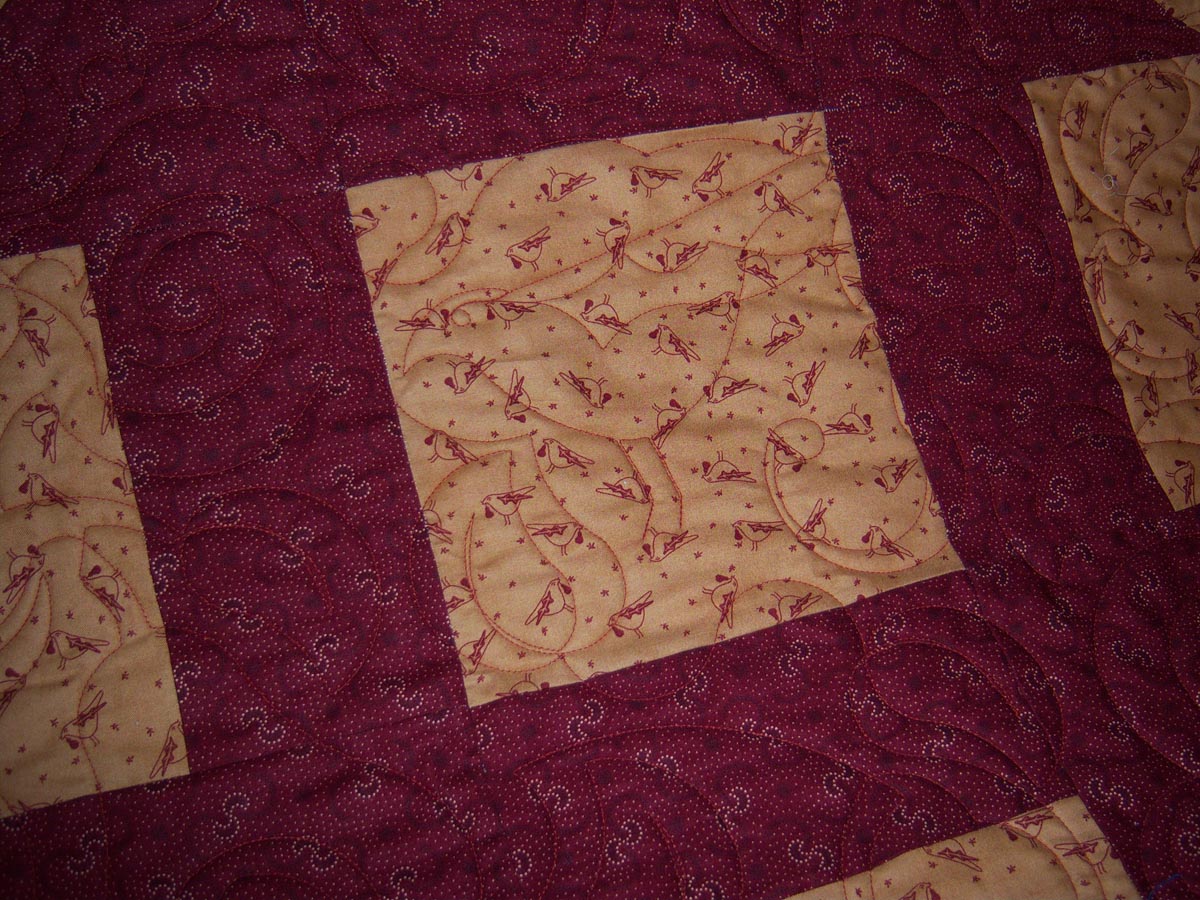
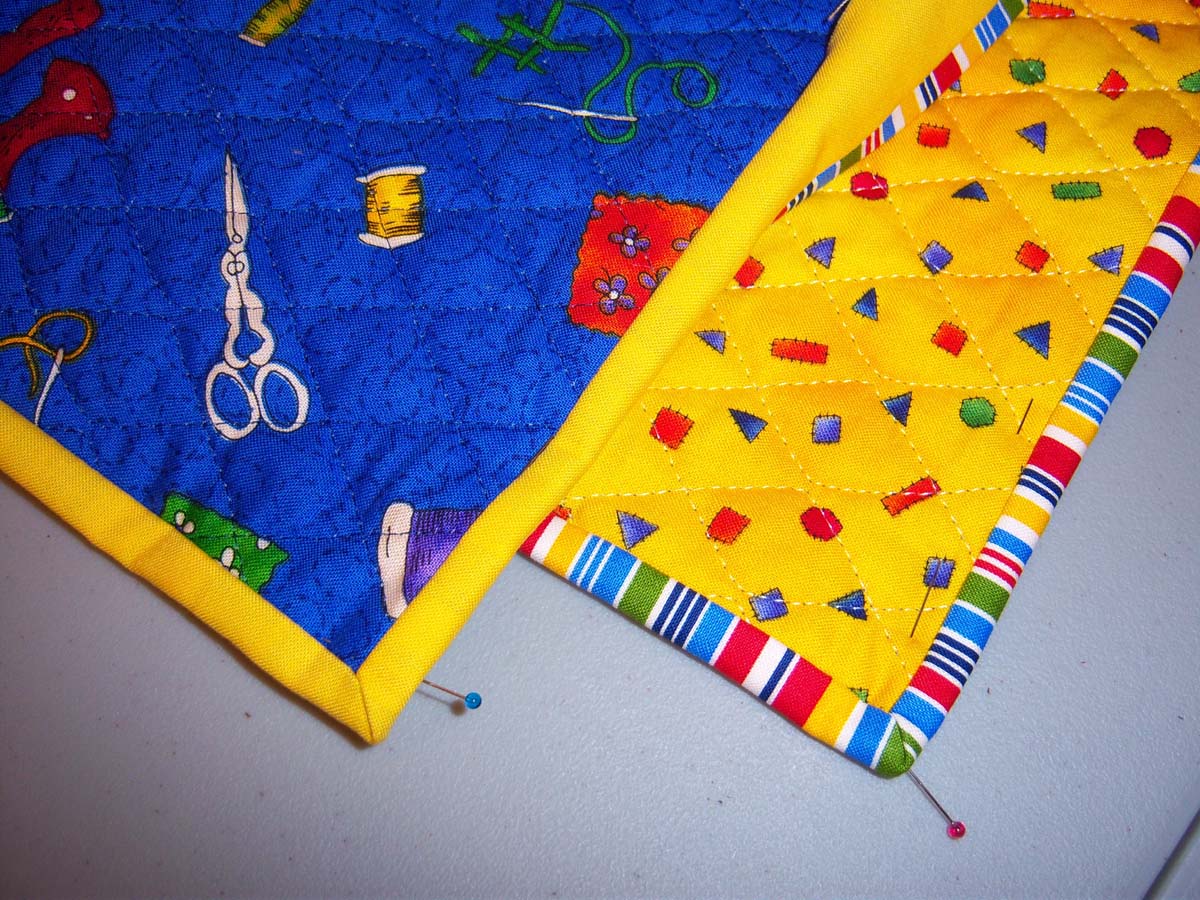
Finished, square and no trimming needed.

Education · General Information Quilting

Open Studio TAP At IQF

open studio 2014 TAP

During Open Studio, the audience was amazed with the options Lesley Riley’s Transfer Artist Paper (TAP) gives them. So often it is hard to come up with a label for your quilt, let alone write on one. This paper offers you a wide range of alternatives to add to your already finished work.

picasso16

My recent quilt that was in the IQF show had a label which I used this product on. Make a ho-hum label into eye-catching.

Education · General Information Quilting

Open Studio Paper Piecing

open studio 2014 PP Cards

Paper Piecing!  Does that mention get you excited or did you just cringe?

If you want to try your hand at it or not sure what to do with an orphan block, here is a great option. You get a free pattern with every set of cards and envelopes and it is less than a purchase of store bought cards. Make a card, send a card and have the recipient be astonished that you made it and you share a part of your creativity, too.  Wonderful scrap buster and I known…..we have scraps.

Education · General Information Quilting

Open Studio Binding International Quilt Festival

I was very fortunate to be able to demo and show some people for the first time how to achieve a new look on bindings.

I chose 2 ideas which I often use myself on my own quilts to add interest or maybe because I ran short on fabric but really want to use it in the binding.

So first – Faux Flange Binding.

100_2187

Using a 2 ½ inch binding, Flange  cut 1 ¾ in. Outer Binding  cut 1 ¼ in.

Now if you choose to have more or less of a Flange you can vary your widths to achieve your look, just remember if you add to one, reduce the other so you still have a complete 2 ½ in binding when sewn.

100_2158

If you need to join multiple strips to get your length to complete your project, join each, flange strip and then outer binding strip to make two complete units.

When you have the length you need, join the two strips together with a ¼ in seam to form your 2 ½ in width.

Press to set your seams.

100_2168

Press seams going to the wider strip.

100_2161

Press in half making sure there is a nice crisp line between the two joined fabrics.

100_2164

Lay your strip down on the back of your quilt.  I like to use a basting stitch when I first start my binding and test to see where it will come over to on the front. I want enough over hang so when I ( SID) Stitch in the Ditch on the front it will hide in the backing not the binding. Test it; you will save yourself time and often a head ache.  I continue to sew in the same manner I do with regular bindings and also end them the same manner. Use your method of choice.

100_2165


Second technique –  2 Color or 2 Sided Binding.

100_2189

This makes a 2 ½ inch binding . Cut one strip 2 inches and the opposite strip  1 inch.

Join all your 2″ strips to give you enough length. Join all 1″ strips to give you enough length. * Do this in your method of choice. When you have the desired length for your project join the two strips together with a ¼ in seam.

100_2158

Press to set seam and then press this seam open being careful not to distort your fabric if it a long strip.

100_2170

Press in half.

100_2169

You will lay the narrow 1 ” strip against the quilt on whichever side you have chosen that fabric for.

100_2171

I do a test baste stitch to make sure the seam on the binding lays right on the edge of my quilt when I wrap it around.

100_2174

Continue to attach when you are happy with your seam and finish in your desired method.

100_2166

Hope you gives these a try. If you have any questions shoot me an email.