I was very fortunate to be able to demo and show some people for the first time how to achieve a new look on bindings.
I chose 2 ideas which I often use myself on my own quilts to add interest or maybe because I ran short on fabric but really want to use it in the binding.
So first – Faux Flange Binding.

Using a 2 ½ inch binding, Flange cut 1 ¾ in. Outer Binding cut 1 ¼ in.
Now if you choose to have more or less of a Flange you can vary your widths to achieve your look, just remember if you add to one, reduce the other so you still have a complete 2 ½ in binding when sewn.
If you need to join multiple strips to get your length to complete your project, join each, flange strip and then outer binding strip to make two complete units.
When you have the length you need, join the two strips together with a ¼ in seam to form your 2 ½ in width.
Press to set your seams.

Press seams going to the wider strip.

Press in half making sure there is a nice crisp line between the two joined fabrics.
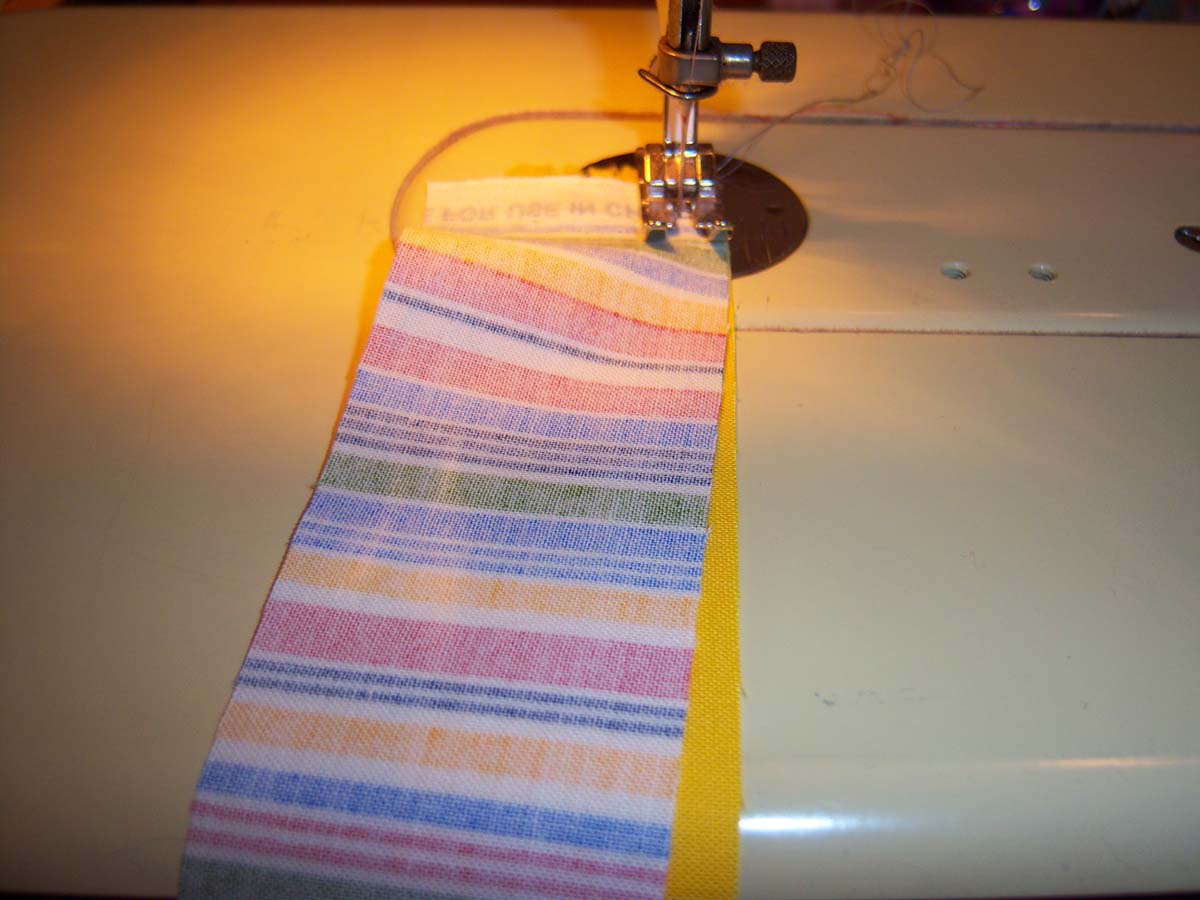
Lay your strip down on the back of your quilt. I like to use a basting stitch when I first start my binding and test to see where it will come over to on the front. I want enough over hang so when I ( SID) Stitch in the Ditch on the front it will hide in the backing not the binding. Test it; you will save yourself time and often a head ache. I continue to sew in the same manner I do with regular bindings and also end them the same manner. Use your method of choice.

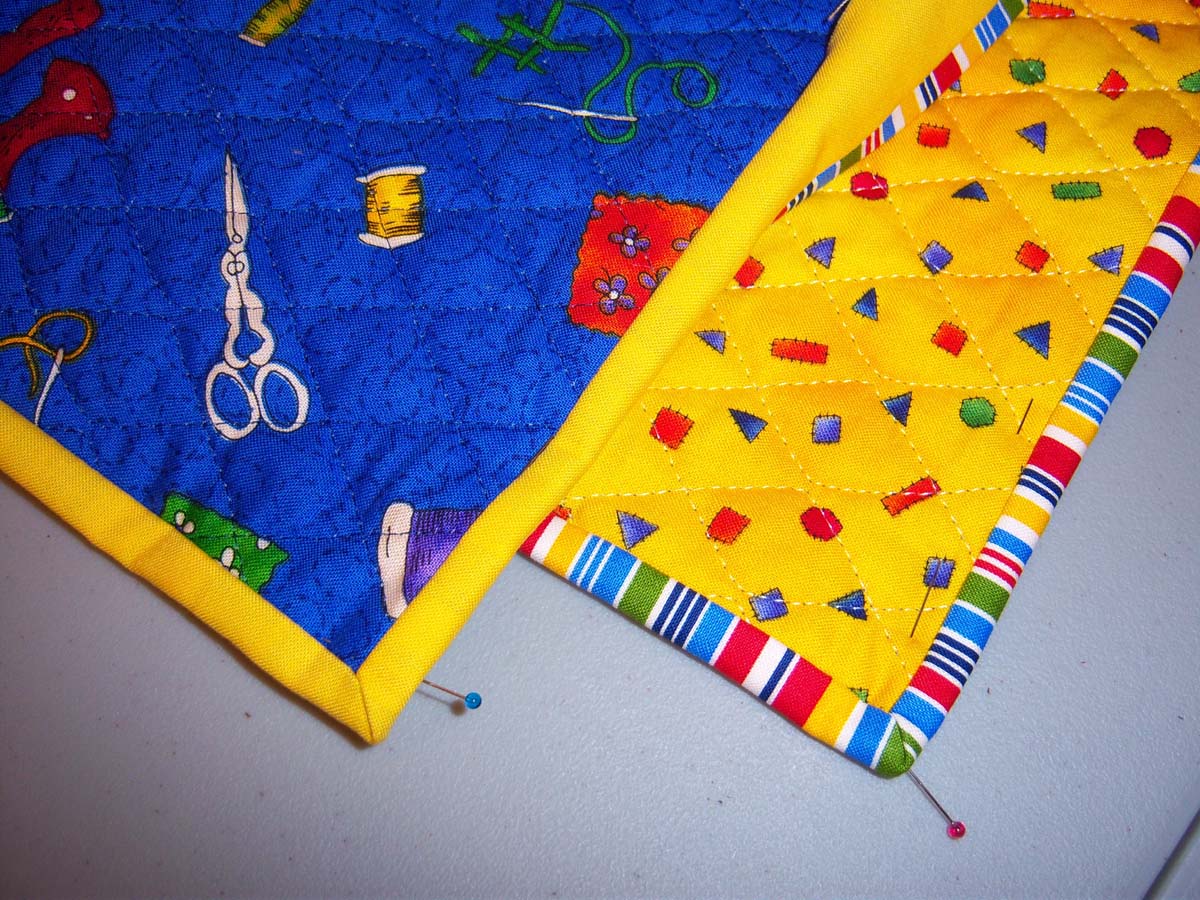
Second technique – 2 Color or 2 Sided Binding.

This makes a 2 ½ inch binding . Cut one strip 2 inches and the opposite strip 1 inch.
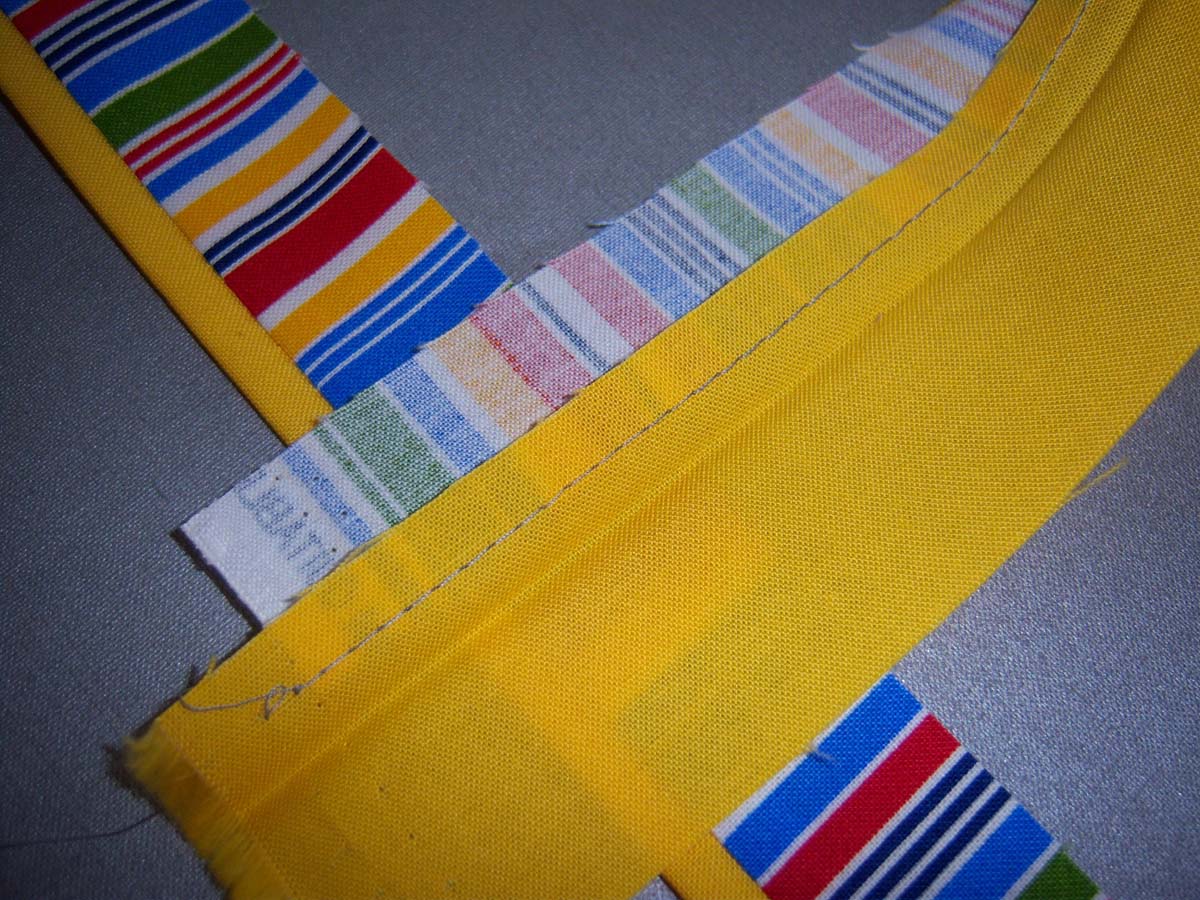
Join all your 2″ strips to give you enough length. Join all 1″ strips to give you enough length. * Do this in your method of choice. When you have the desired length for your project join the two strips together with a ¼ in seam.
Press to set seam and then press this seam open being careful not to distort your fabric if it a long strip.
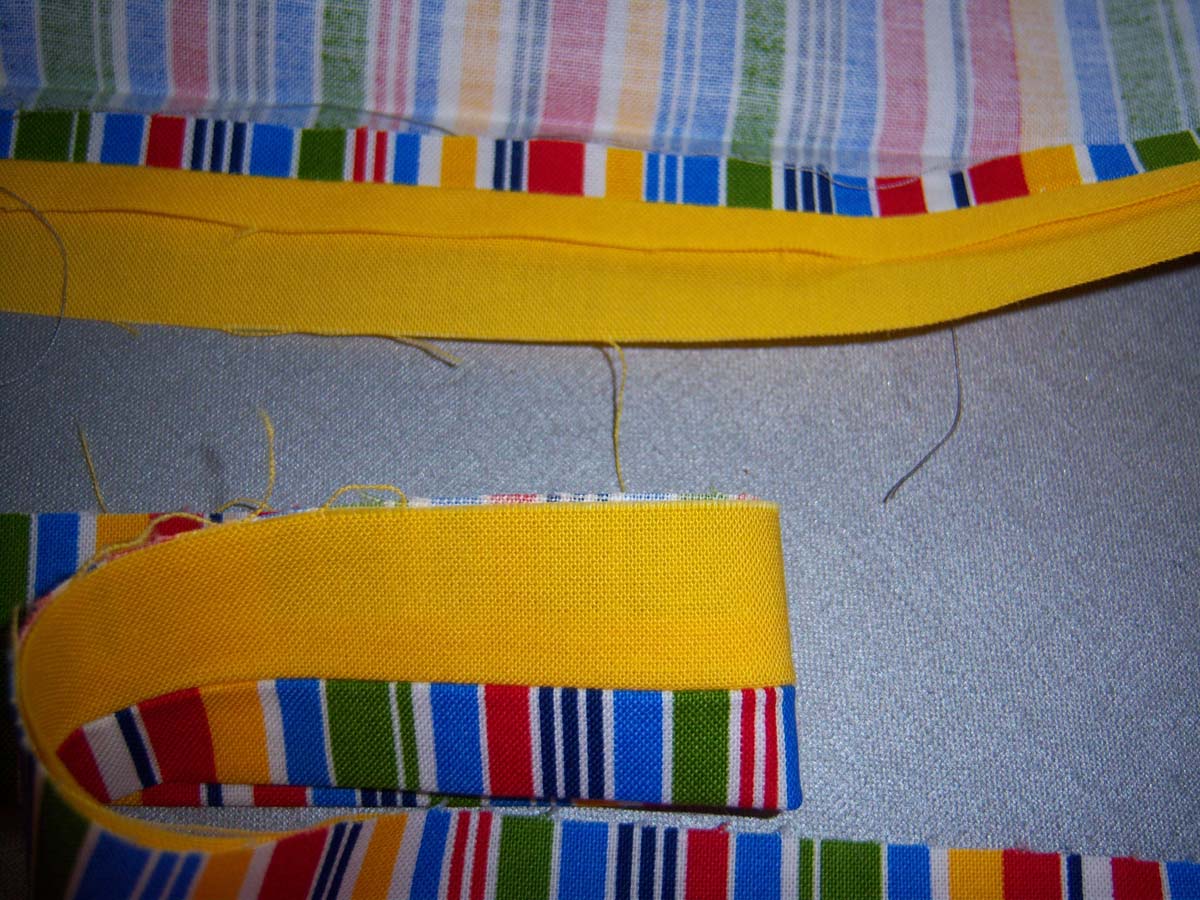
Press in half.

You will lay the narrow 1 ” strip against the quilt on whichever side you have chosen that fabric for.

I do a test baste stitch to make sure the seam on the binding lays right on the edge of my quilt when I wrap it around.
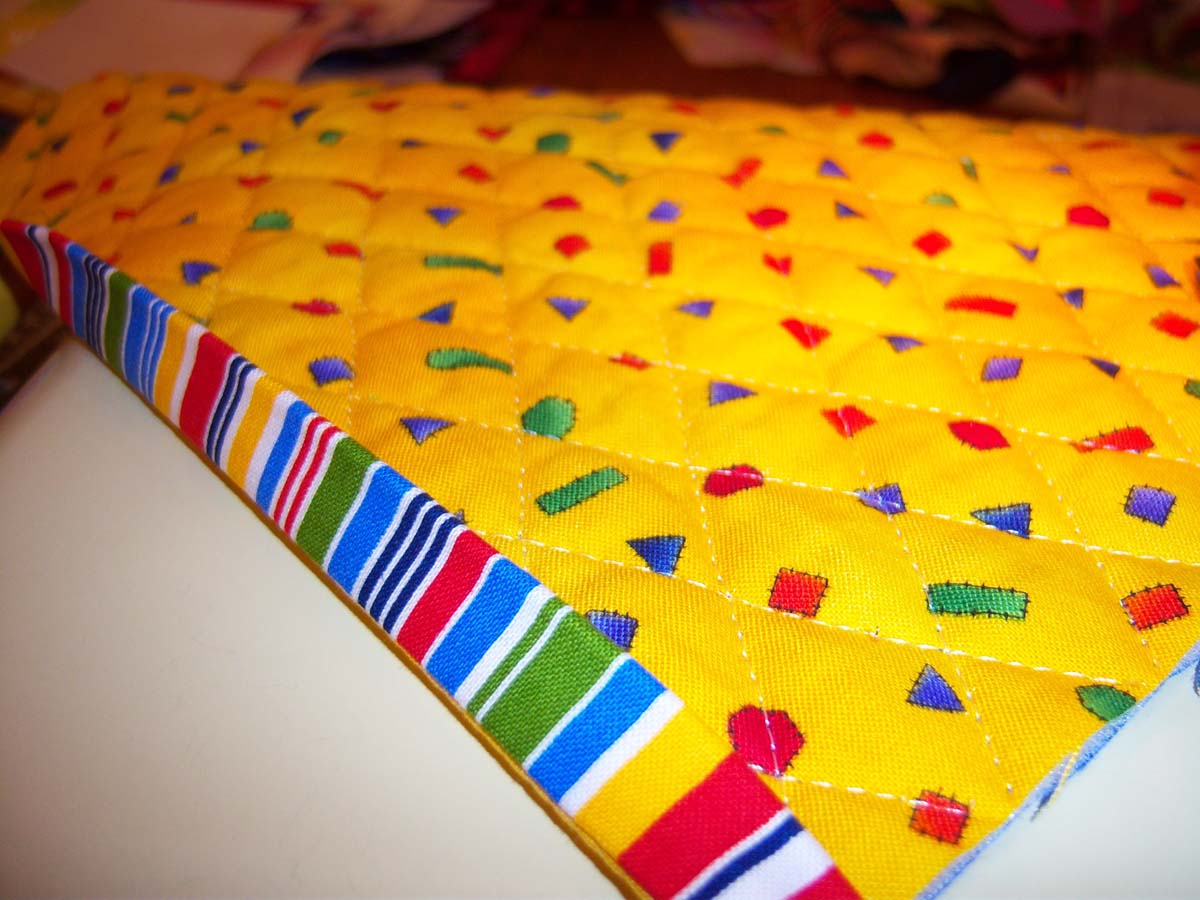
Continue to attach when you are happy with your seam and finish in your desired method.
Hope you gives these a try. If you have any questions shoot me an email.
