
Congratulations Mary M from Lockport, Illinois who was randomly chosen for the wooden needle give away.
Congratulations Mary M from Lockport, Illinois who was randomly chosen for the wooden needle give away.
If you want better borders, so they are not flopping in the wind or somehow out of wack, but really hate math and measuring, this is for you. This is the method I have used since I started quilting and still use today. It works for me, give it try and you won’t be disappointed. Any questions, or unsure of any step, PLEASE contact me. I want you to have fun while making a better quilt!

Make sure your quilt top is nicely pressed.

Find center of the quilt top. Do this by folding the ends and marking middles with a pin, iron tap the center, or use a chalk mark.

Cut border fabric for the first two sides you will be applying. Make sure you go longer than your quilt top.

Line up border fabric on the top of each other, and find the centers of these pieces in the same manner. Mark them.

Match the center points of the border with the center of the quilt, pin them together well.

Gently, without pulling, lay the border strips down the middle of the quilt, keeping them all in line. Mark borders with pin, chalk or finger press where the borders meet the end of the quilt.

Trim your borders where marked.

Find the centers of borders by folding in half and iron press center ,this will help with registration marks.

Match centers of borders with center marks on ends of quilt, (PIN) right side together on top of quilt.

Match ends of borders to end of quilt making sure you have 90 degree angle in corners and pin.

Pin more of the borders on the side making sure they will not shift in sewing. Add more pins to hold border as you sew. Ease in any fabric (if needed) between already pinned points. Now Sew! Do not sew over the pins.

Now that you have your two borders applied, press.

Now find the center again and mark.

Again, find your center on the borders to match to your center on the quilt top. Gently bring across the quilt. Mark the ends where they meet the end of your quilt top and trim.

Find your centers again and pin in the same manner as you did the others. (if quilt is large, fold into quarters for borders and quilt) this will help with registration marks.

Finished, square and no trimming needed.

Now for some FUN!
Some of you have come by and saw my presentation in Open Studio 2017, also so my Giant…16 inch wooden needle with a notch to hang on a wall. I was so pleased to have so many people interested, and all the wonderful questions.
So….. what I would like to do, is anyone who follows me, will have a chance to own the wonderful Needle. I will randomly chose one person on April 30th!
Will it be you?
Here is my schedule for this year’s Open Studio at the International Quilt Festival. This year I will be teaching “No Measure Borders”.
Thursday, April 6, 2017
12:00 P.M.-2:00 P.M.
Friday, April 7th and Saturday, April 8, 2017
10:00 A.M.-12:00 P.M.

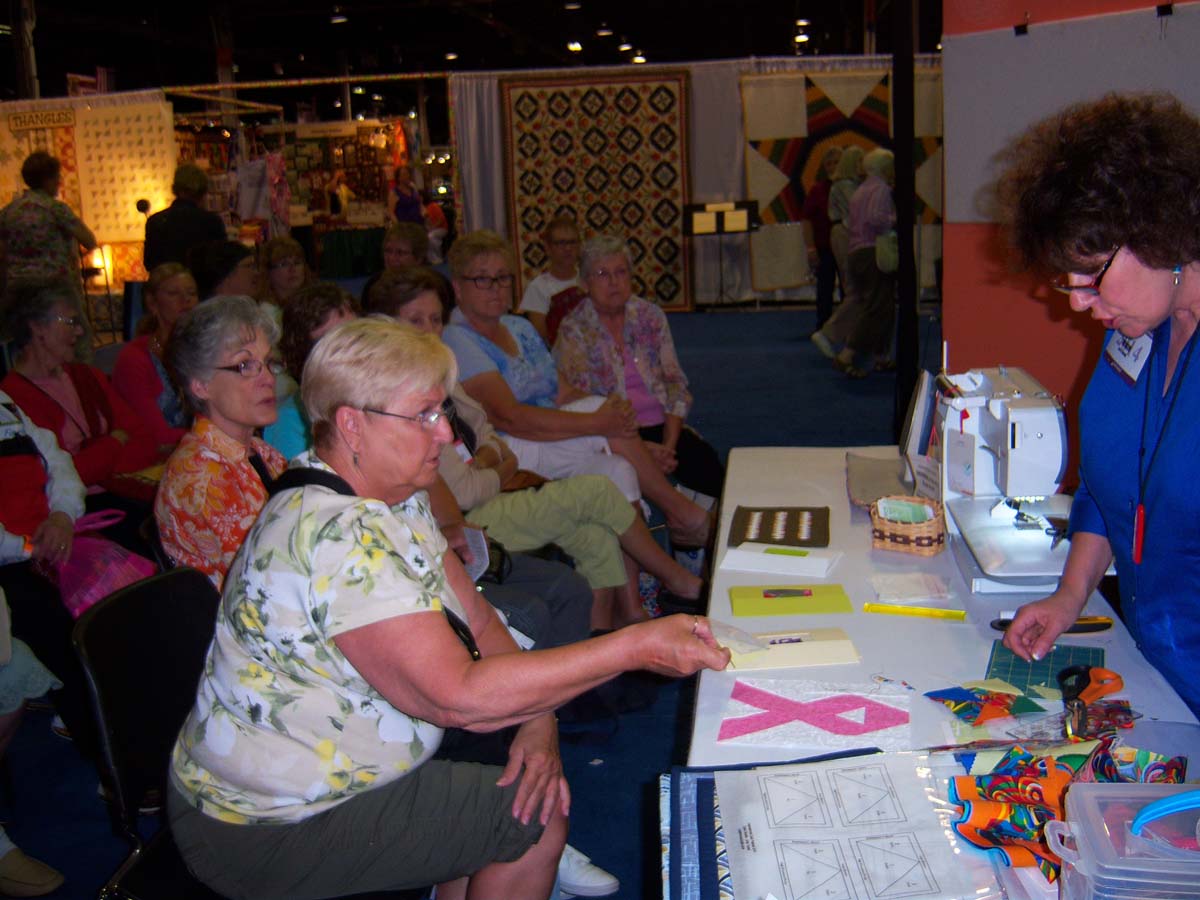

Here are a few pictures taken over the weekend at the International Quilt Festival in Chicago. Was wonderful to have questions asked and be able to teach something different. Thanks to Emily Lang for your cheering on and support. And thanks to Maureen Koepp, my new friend and assistant. It was a blast.
I was very fortunate to be able to demo and show some people for the first time how to achieve a new look on bindings.
I chose 2 ideas which I often use myself on my own quilts to add interest or maybe because I ran short on fabric but really want to use it in the binding.
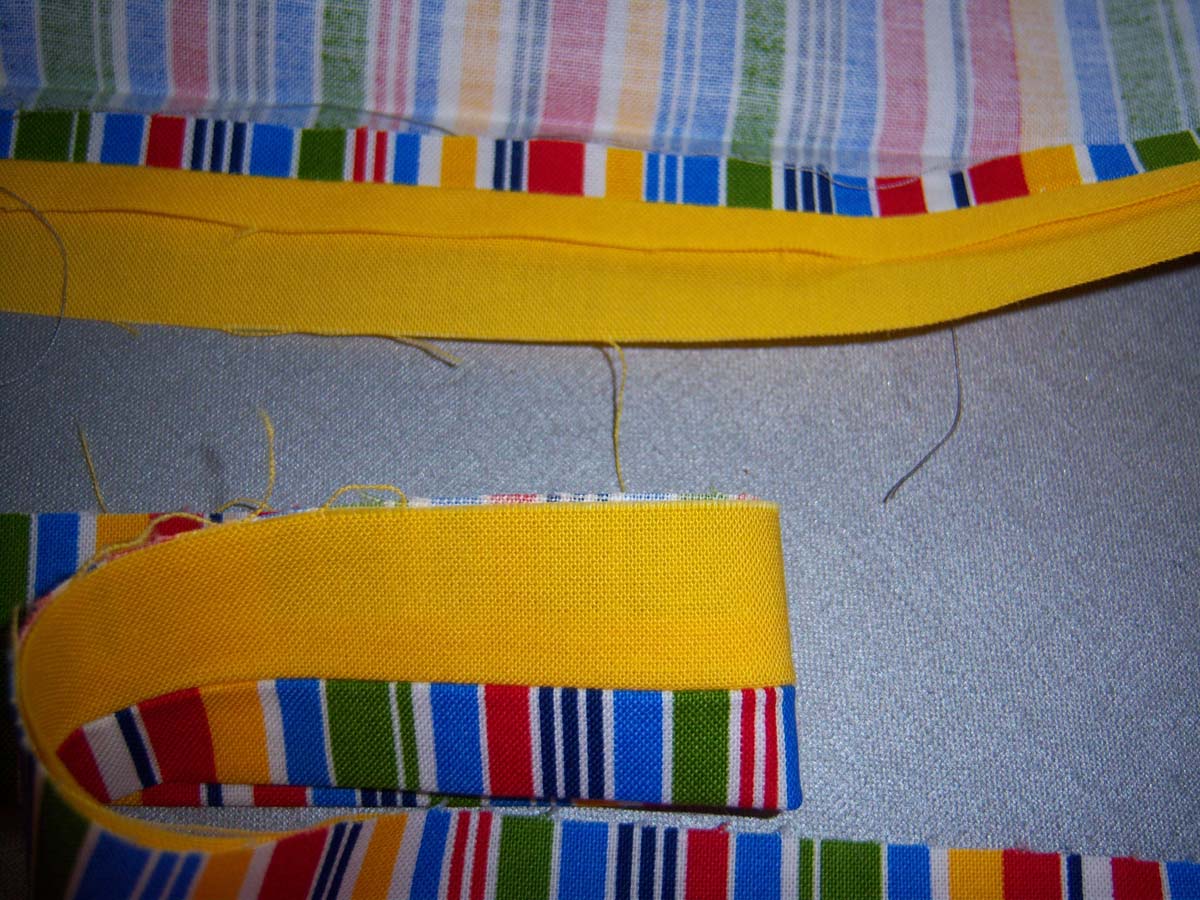
So first – Faux Flange Binding.

Using a 2 ½ inch binding, Flange cut 1 ¾ in. Outer Binding cut 1 ¼ in.
Now if you choose to have more or less of a Flange you can vary your widths to achieve your look, just remember if you add to one, reduce the other so you still have a complete 2 ½ in binding when sewn.
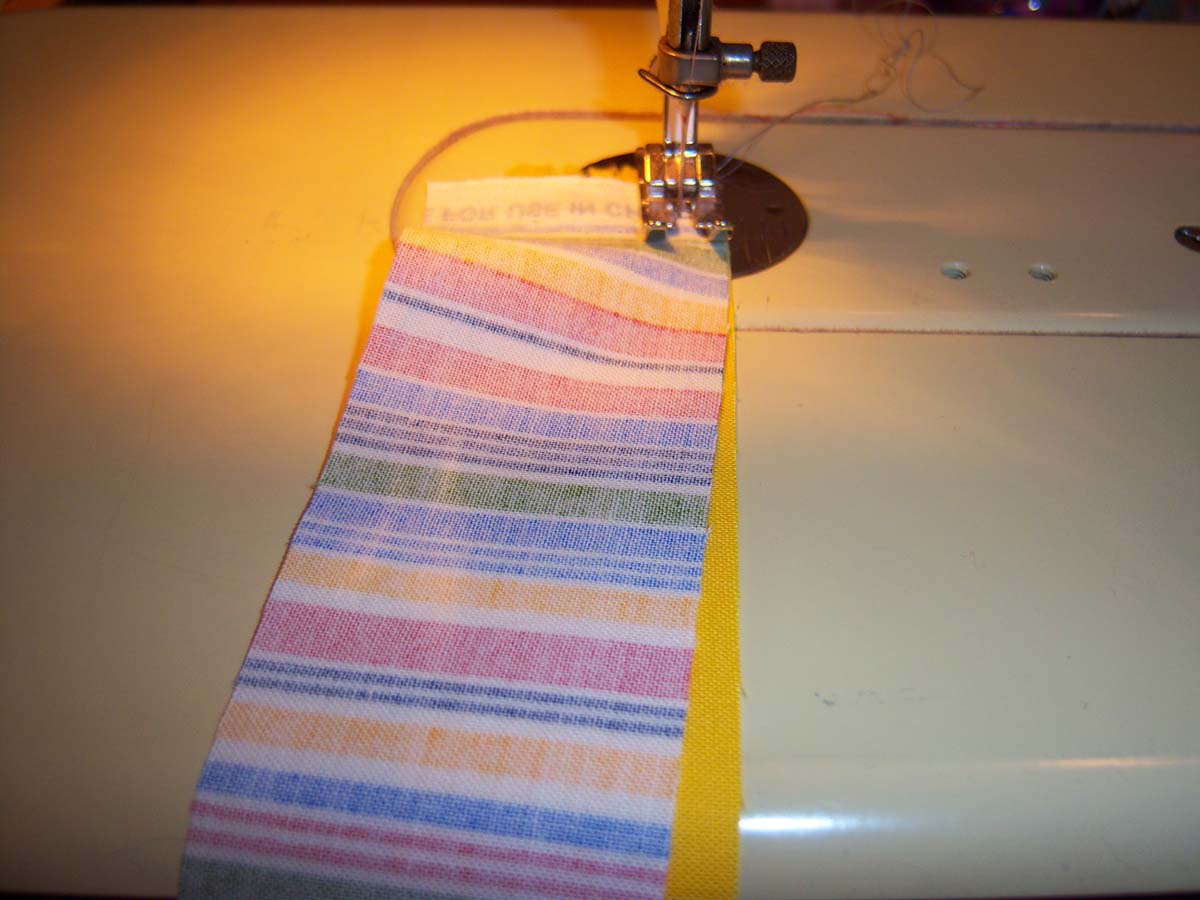
If you need to join multiple strips to get your length to complete your project, join each, flange strip and then outer binding strip to make two complete units.
When you have the length you need, join the two strips together with a ¼ in seam to form your 2 ½ in width.
Press to set your seams.

Press seams going to the wider strip.

Press in half making sure there is a nice crisp line between the two joined fabrics.
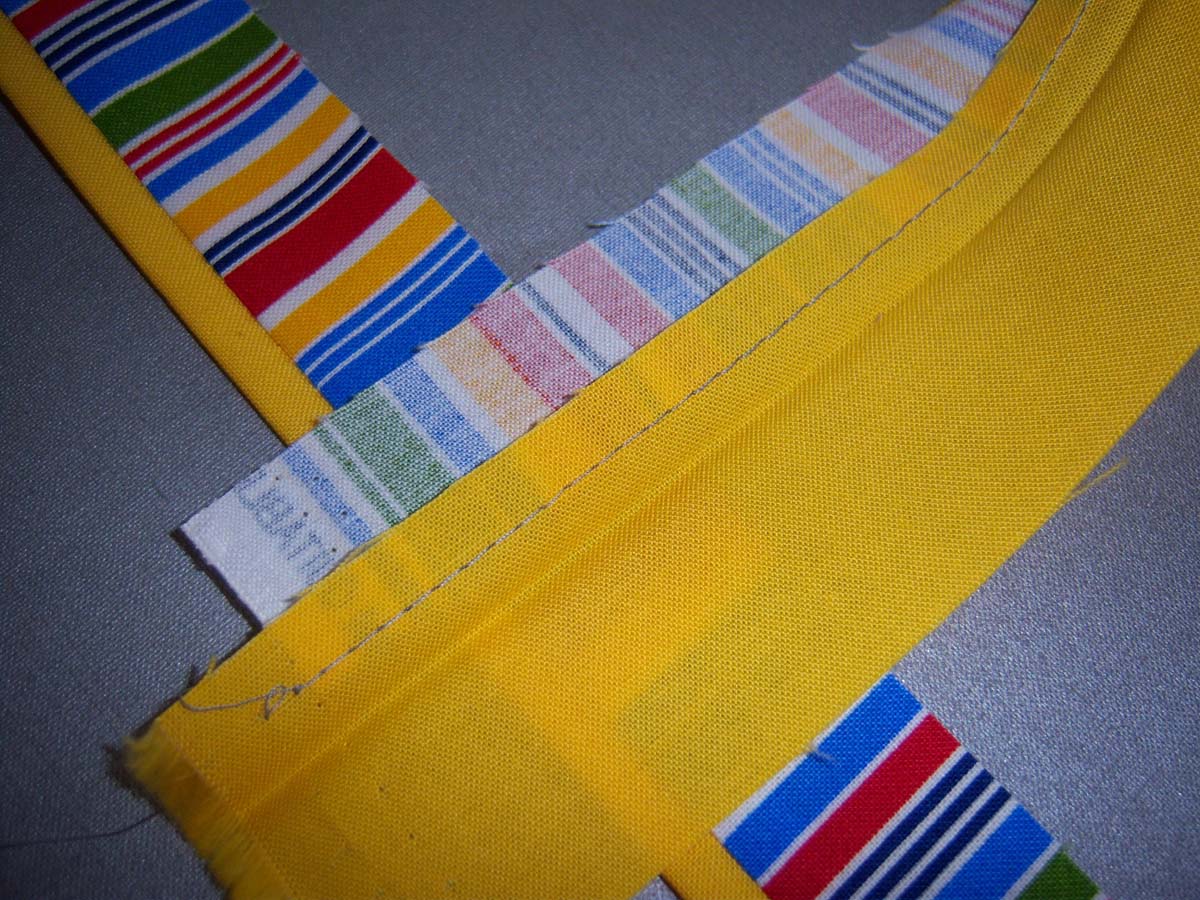
Lay your strip down on the back of your quilt. I like to use a basting stitch when I first start my binding and test to see where it will come over to on the front. I want enough over hang so when I ( SID) Stitch in the Ditch on the front it will hide in the backing not the binding. Test it; you will save yourself time and often a head ache. I continue to sew in the same manner I do with regular bindings and also end them the same manner. Use your method of choice.

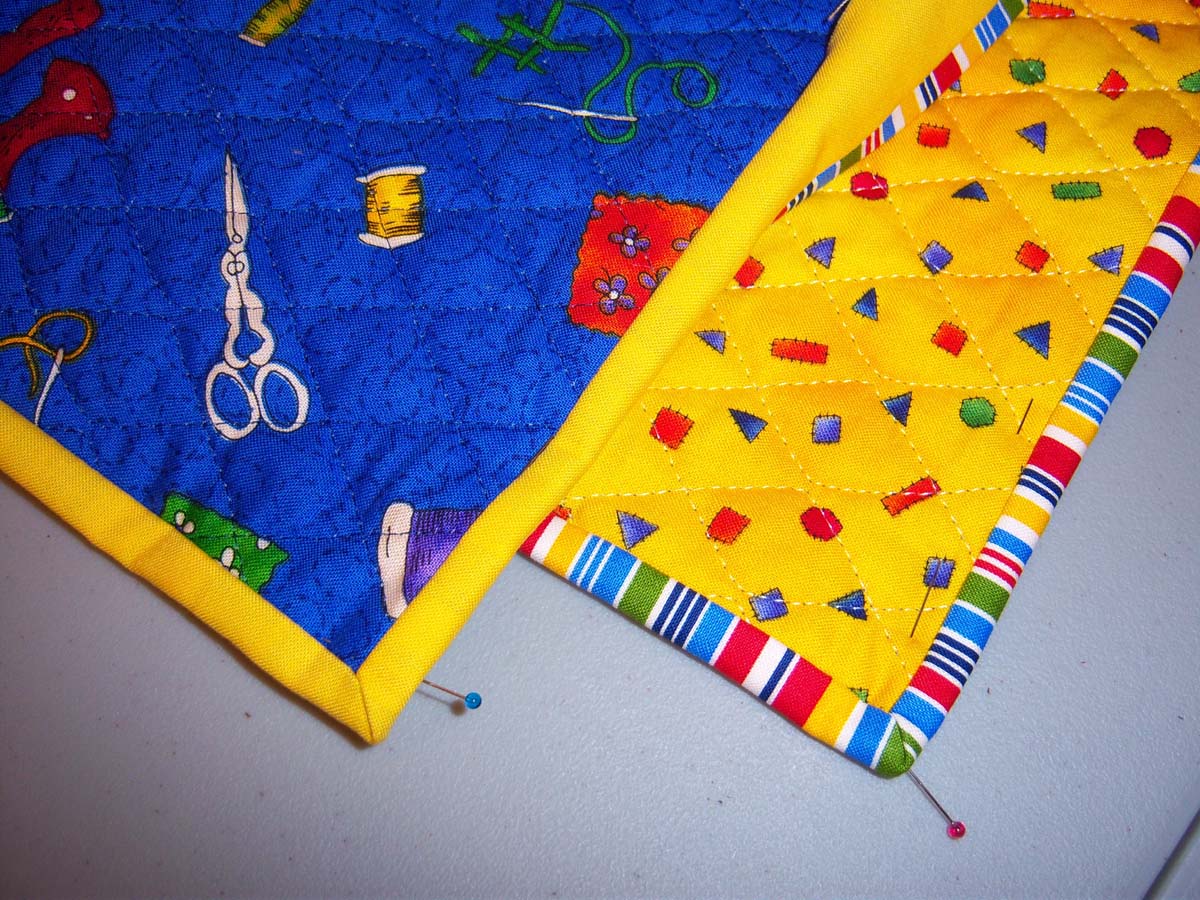
Second technique – 2 Color or 2 Sided Binding.

This makes a 2 ½ inch binding . Cut one strip 2 inches and the opposite strip 1 inch.
Join all your 2″ strips to give you enough length. Join all 1″ strips to give you enough length. * Do this in your method of choice. When you have the desired length for your project join the two strips together with a ¼ in seam.
Press to set seam and then press this seam open being careful not to distort your fabric if it a long strip.
Press in half.

You will lay the narrow 1 ” strip against the quilt on whichever side you have chosen that fabric for.

I do a test baste stitch to make sure the seam on the binding lays right on the edge of my quilt when I wrap it around.
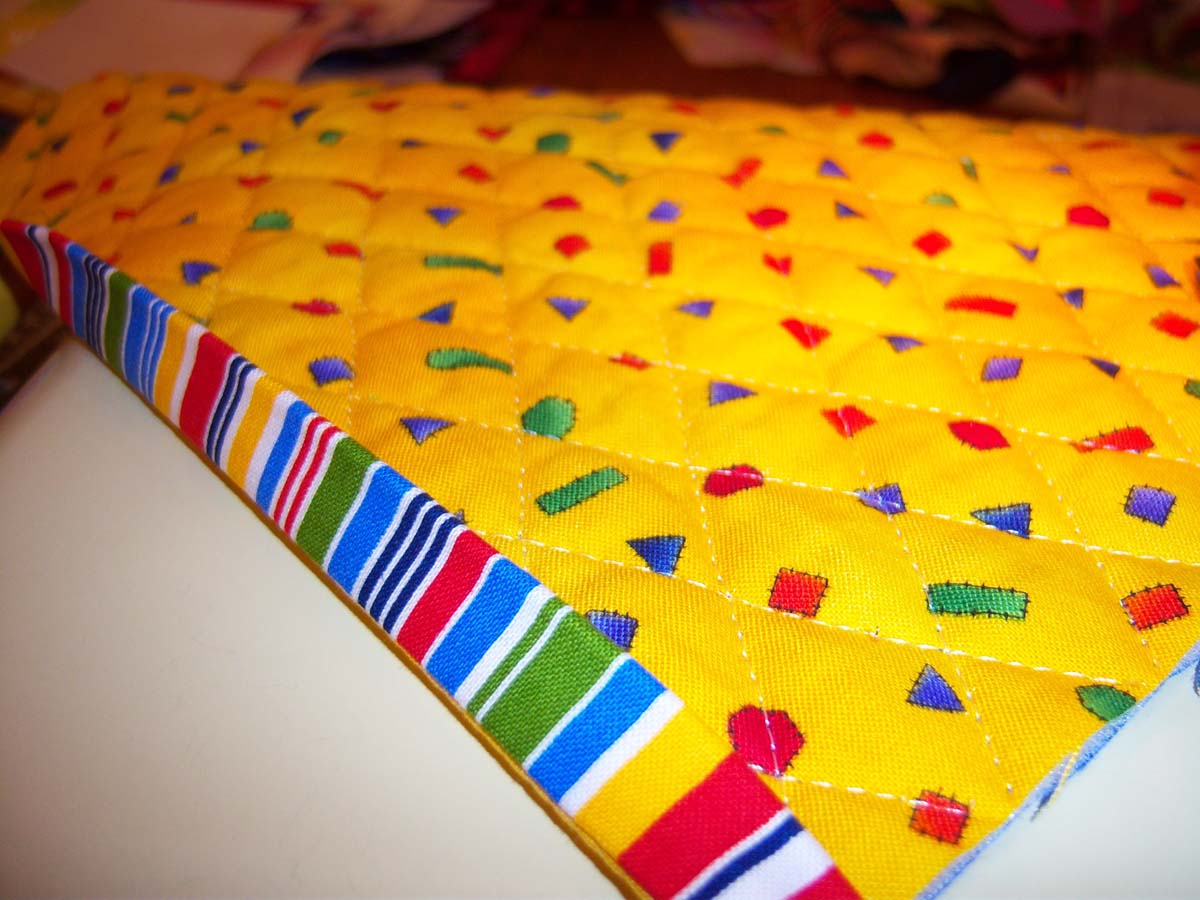
Continue to attach when you are happy with your seam and finish in your desired method.
Hope you gives these a try. If you have any questions shoot me an email.
The International Quilt Festival called for a challenge.
Always love a good challenge! This one was between the Chicago Modern Quilt Guild and the Naperville Modern Quilt Guild.
We were given the theme “Modern in the City” and restriction of one side, any side must be 36 inches.
First thing that came to me was the Picasso sculpture in downtown Chicago. Okay so how do I translate hard cold steel into fiber and make it exciting……
Here we go.
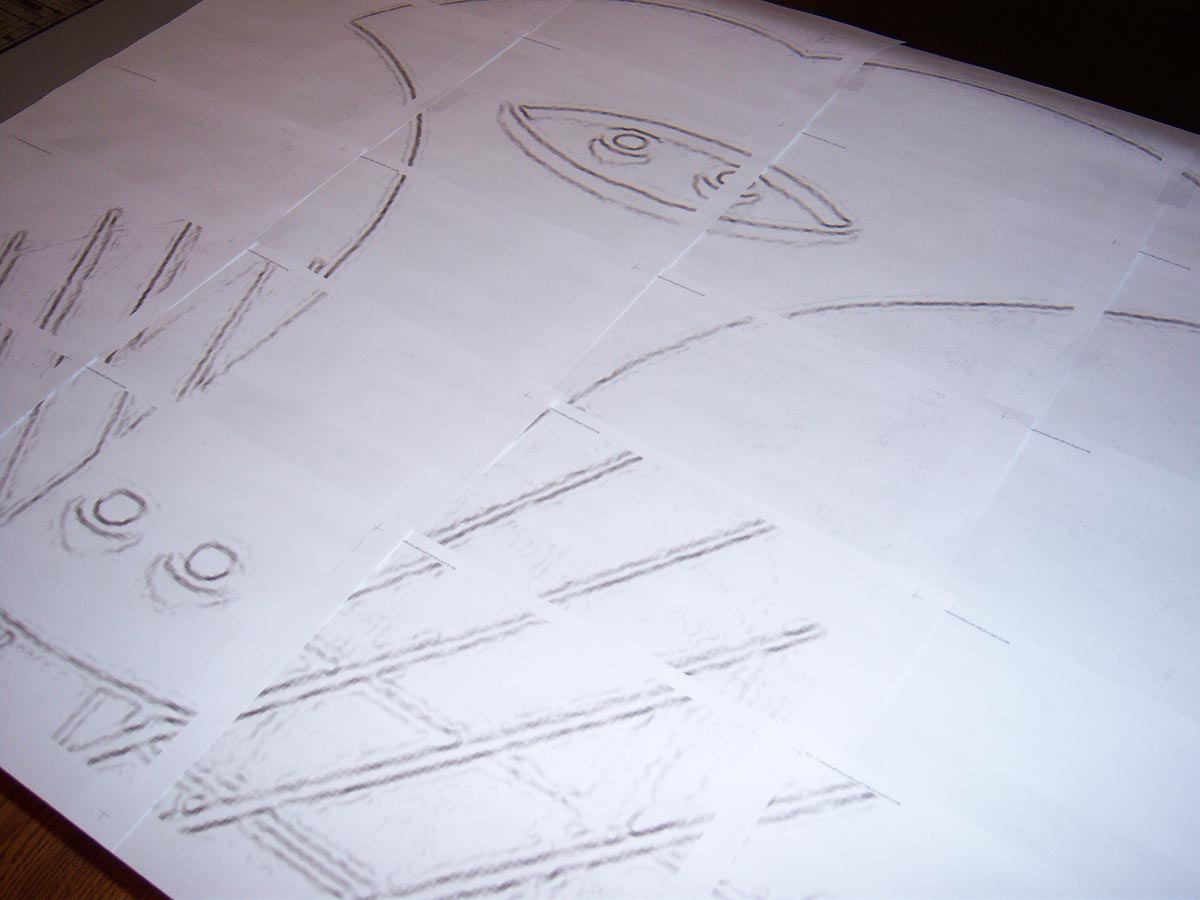
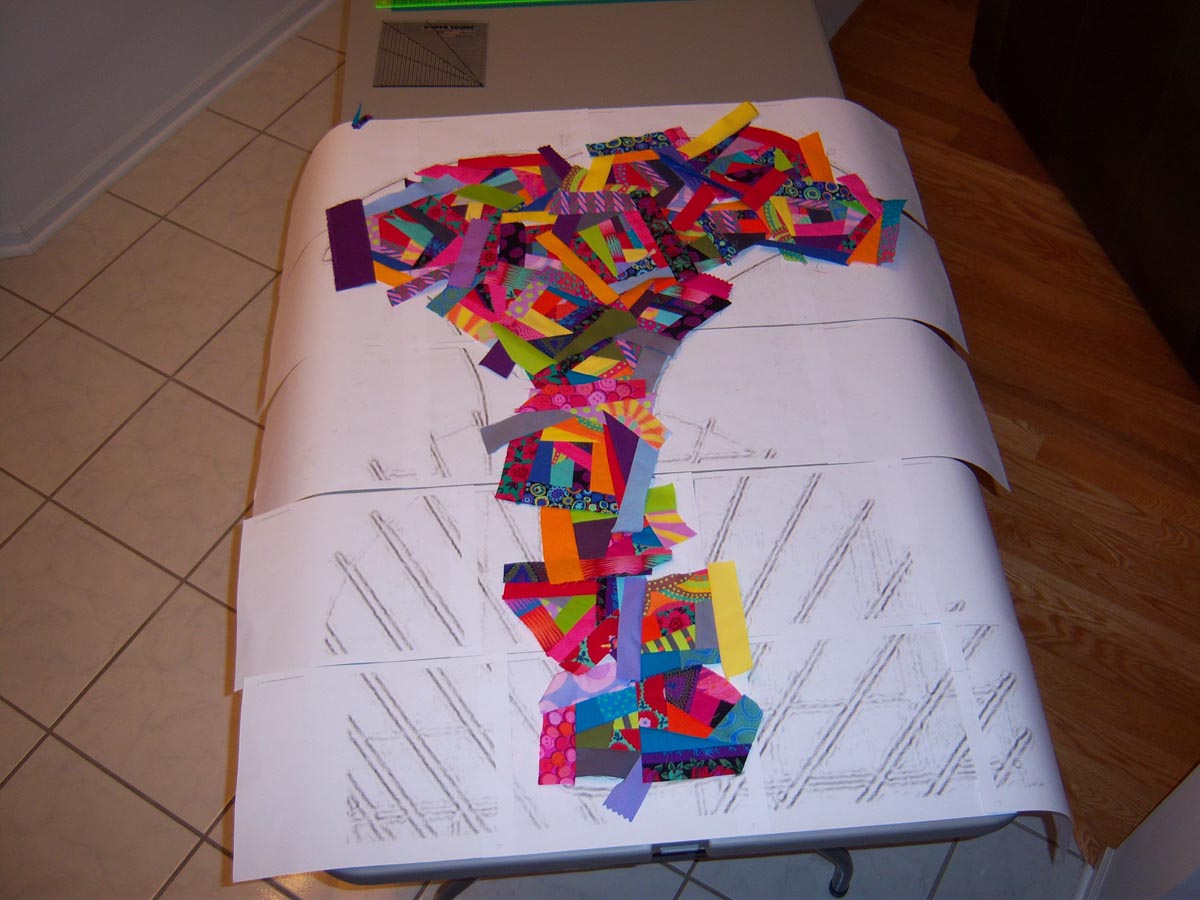
Started with a paper pattern that was enlarged.
I did not want to use just one solid or print type fabric for the face. I used the 15 Minutes of Play by Victoria Findlay Wolfe. The first day it was a bit rough letting go and just random piece, sew and cut. The second day, was easier and became free and fun…. getting the hang of this.
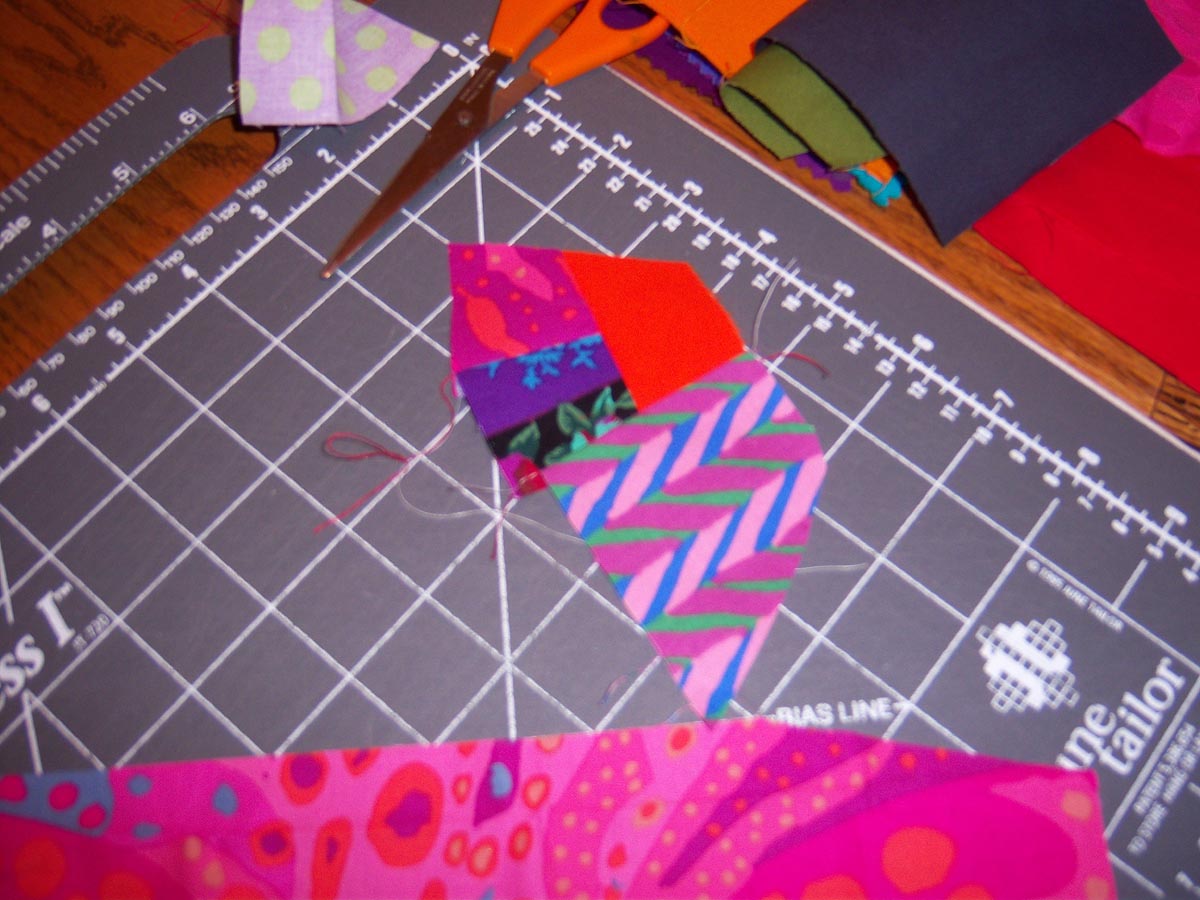
The eyes had to be a bit more centered so they were done with a paper piecing method.
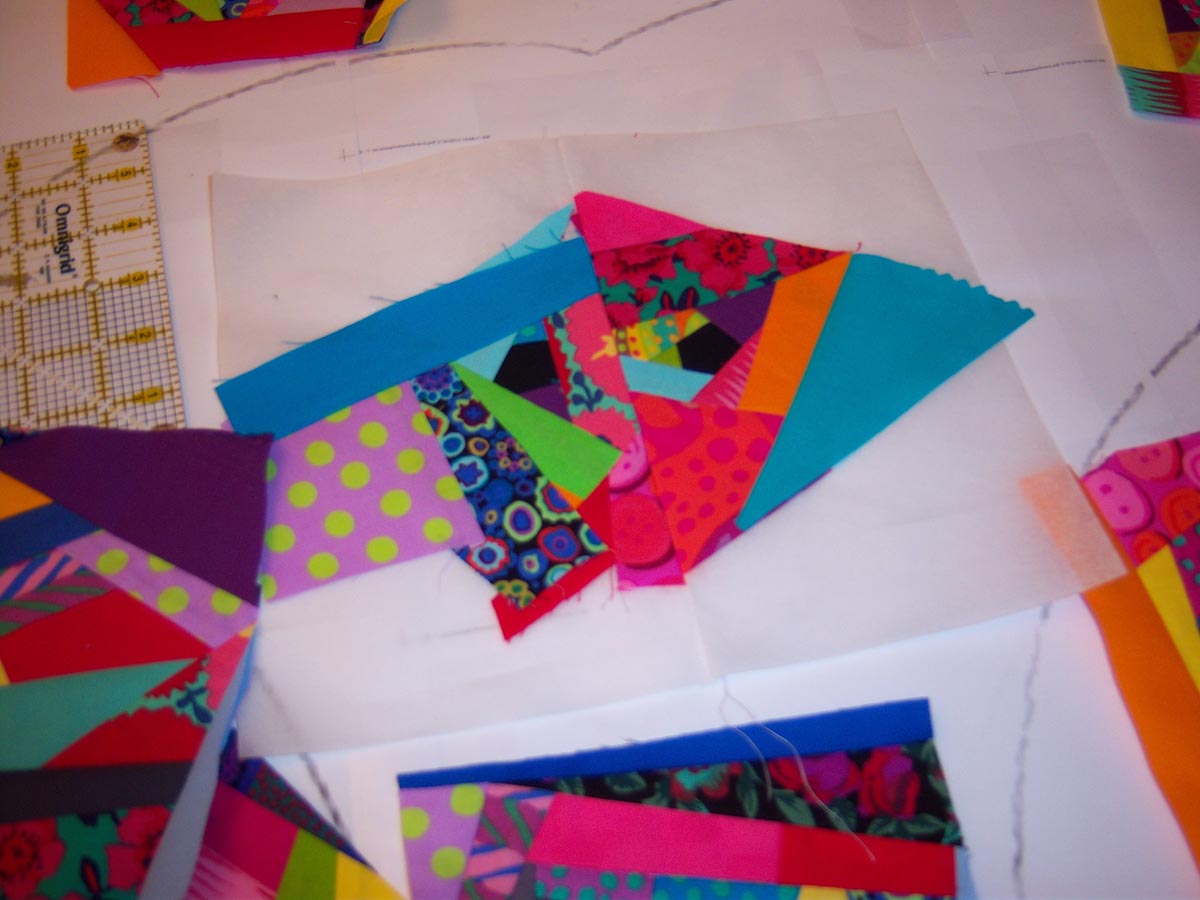
Getting several units to size and laying them out to get a sneak peek for myself.
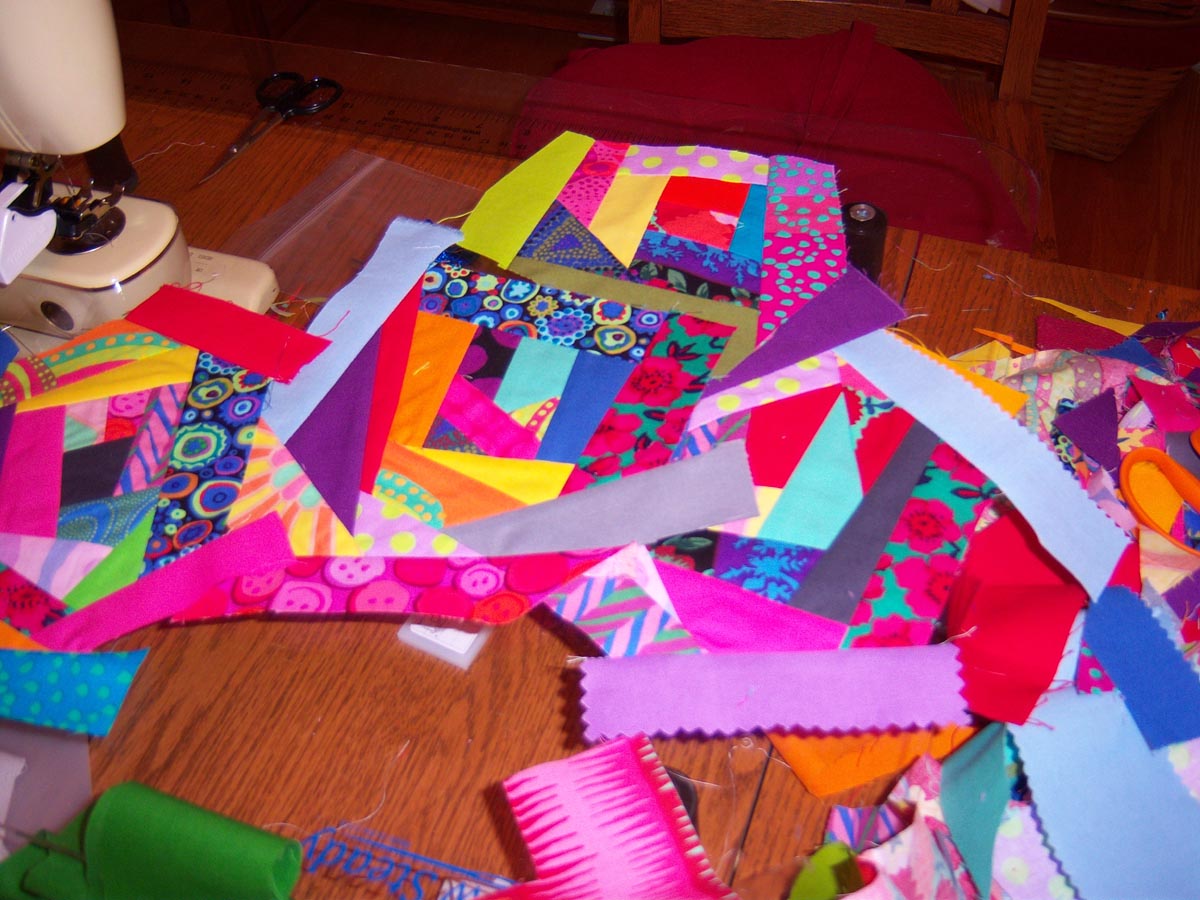
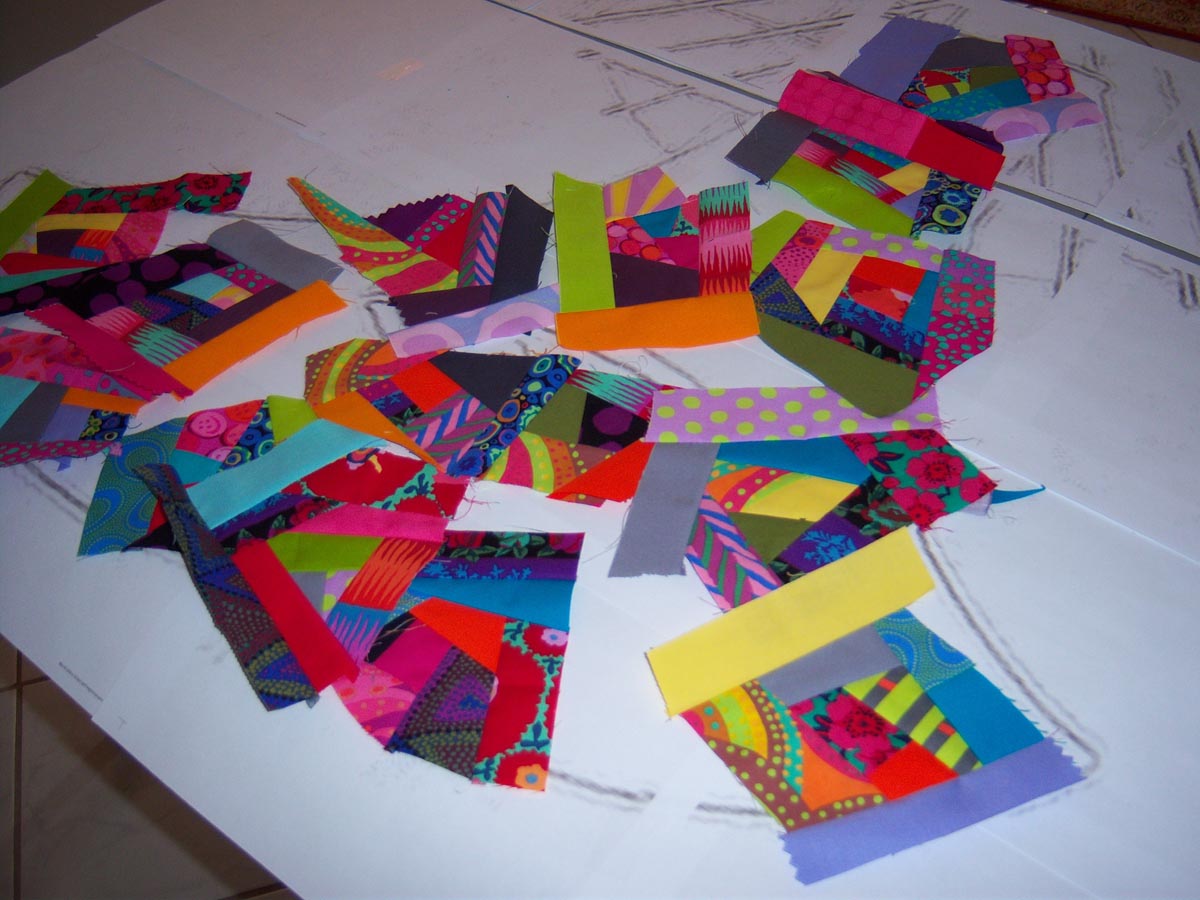
Needed to lay the blocks out and mix colors and make sure coverage is good. Hmmm, a bit more here or there and then time to join.

I decided I did not want raw edges on the face and tried to think of the best way to turn the edges under; especially with all the seams everywhere. I used to use dress-makers tracing and traced the face and then put it over my sewn units.

Pinned and sewn.

After stitching all the way around, I cut through the middle leaving 1/4 all around the edges to turn. Just like in garment making, it is necessary to clip on curves to have everything lay flat.

Had to audition the right colors for the background. Some were dull and some too bright. I really liked the way the Kona Tulip (purple) and Kona Peapod (green) played together as well as with the face pattern. I then hand appliquéd the face to the background.

To continue with the sculpture and the rods that hold it up, bias tape was my answer.

Put it on the long arm machine to do the background quilting that is similar to the piecing of the face. Some of the quilting was also done on my domestic machine.

I had been playing around with a product by Lesley Riley and C & T Publishing called TAP paper. Using words an image in reverse on the computer, you print right onto the paper. Iron on fabric and it is permanent. I like this method because I always mess up or get nervous writing with fabric pens. You can even add as I did on top. I had forgotten to include my phone number on the label so I just ran the paper through the printer again and ironed on top of the original TAP transfer.

On the design wall and bound. Really wanted to use solid binding to give the sculpture a bit of suspension. May I present to you, Picasso in Piecing.

